Service Invoice Template
Stop waiting for clients to complete payments for your services. This oto template maker is here to ensure you get paid up to two times faster using the easy-to-send invoice generator.
New Invoice
Build Your First Invoice & Get Paid Faster
`Our invoice templates are available in Google Docs, Google Sheets, Word, PDF, Excel, Canva, Notion, Figma, and Illustrator. Simply hit the download button, update the invoice with your design logo and branding, fill in the details, and you’re ready to hit send!`
Table of Contents
How to make an invoice for service work with oto What to add in an invoice used for service work How to send an invoice if you do service work When to send a service invoice How to charge for services rendered to a client1. Choose your currency
2. Enter your name
3. Enter your client's name
4. Invoice issue date
5. Invoice due date
6. Enter your services and describe what you offered
7. Add tax or discount
8. Add special notes or payment information
What to add in an invoice used for service work
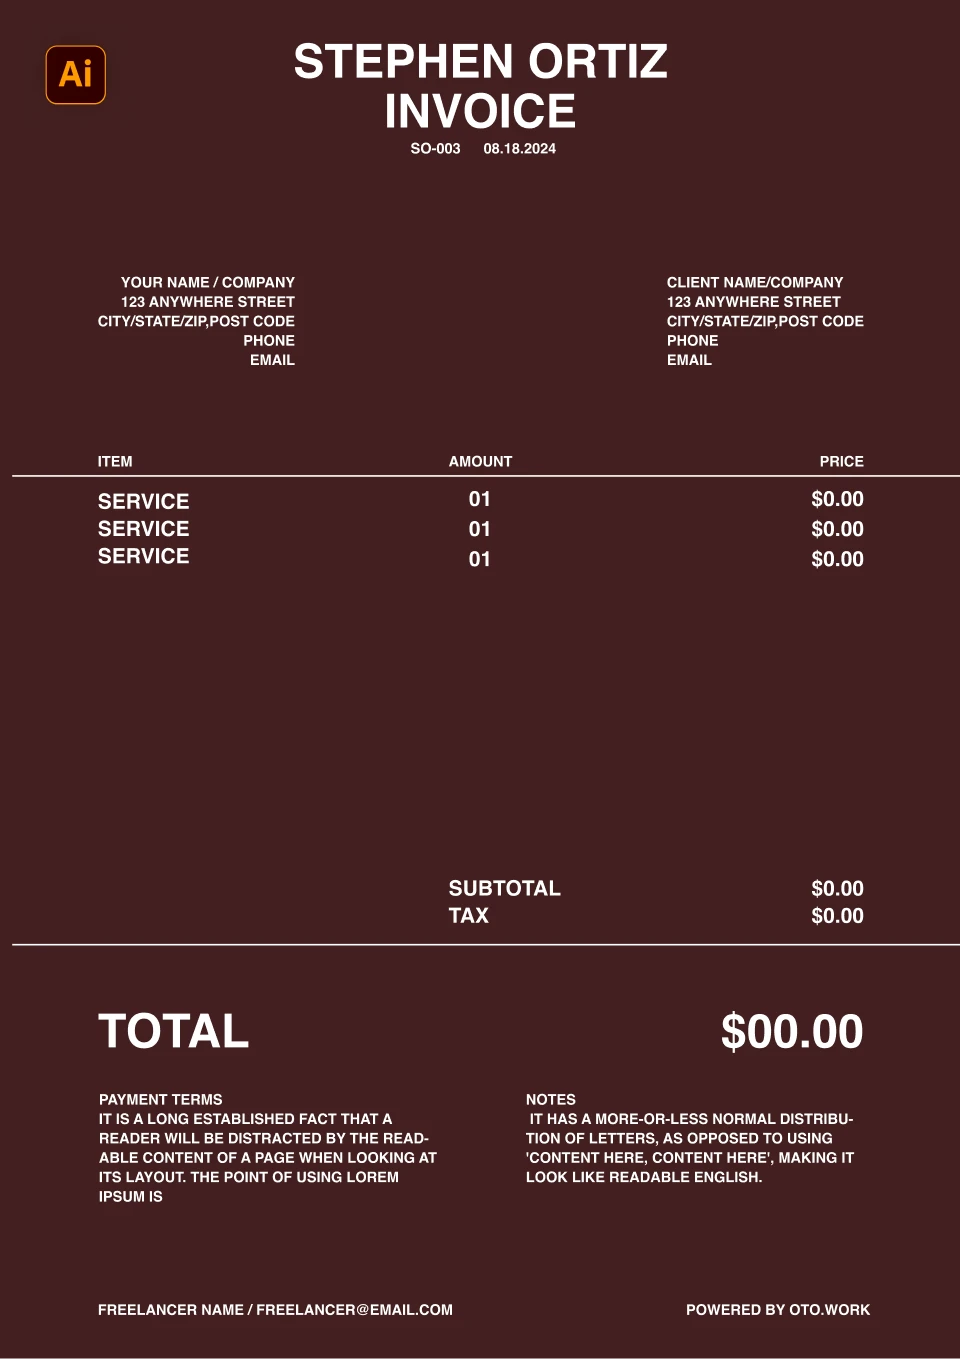
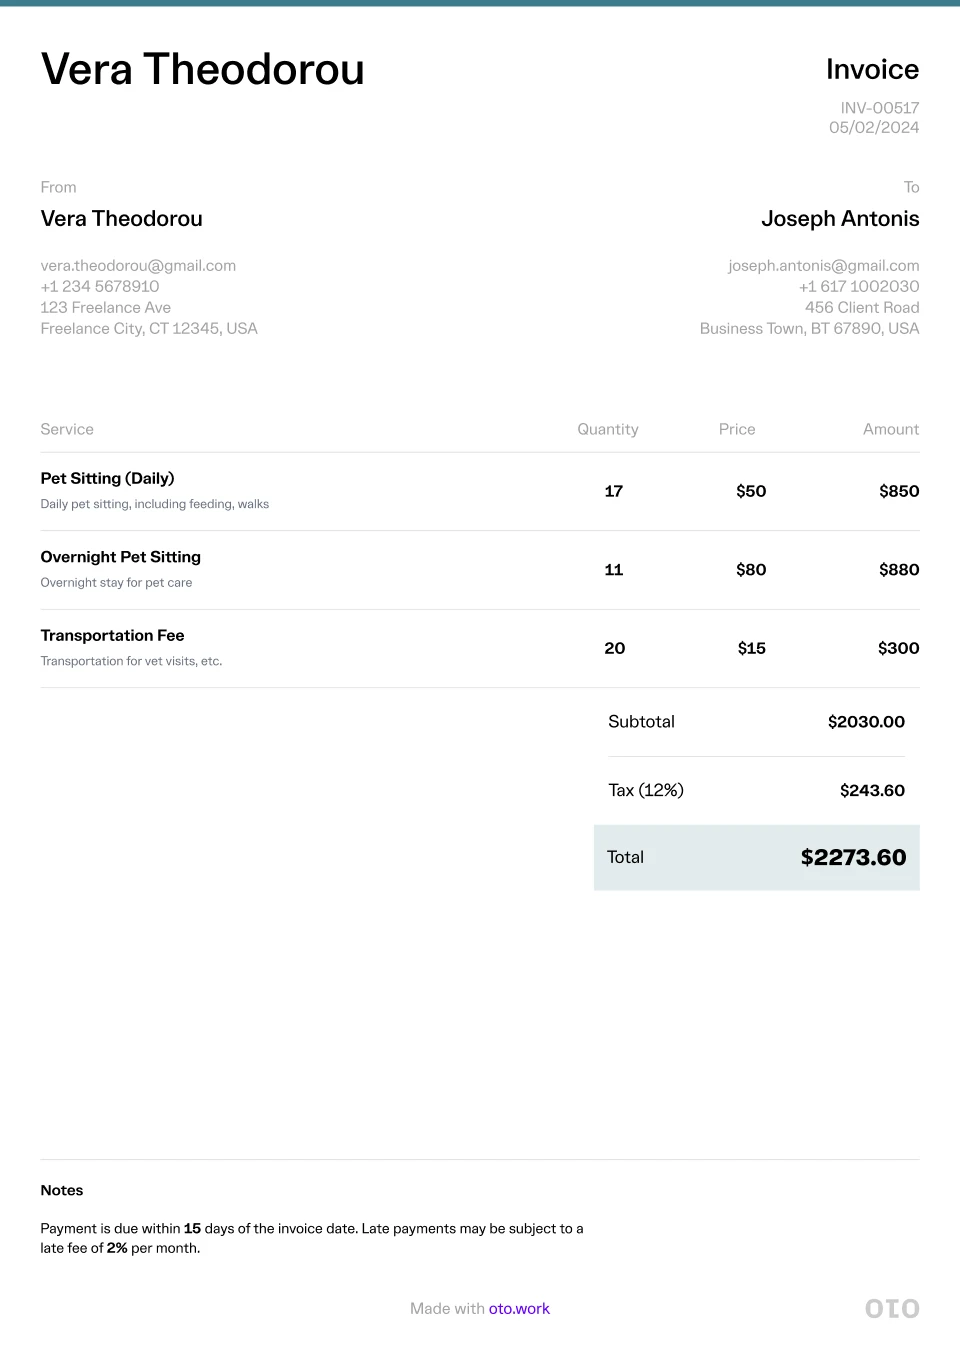
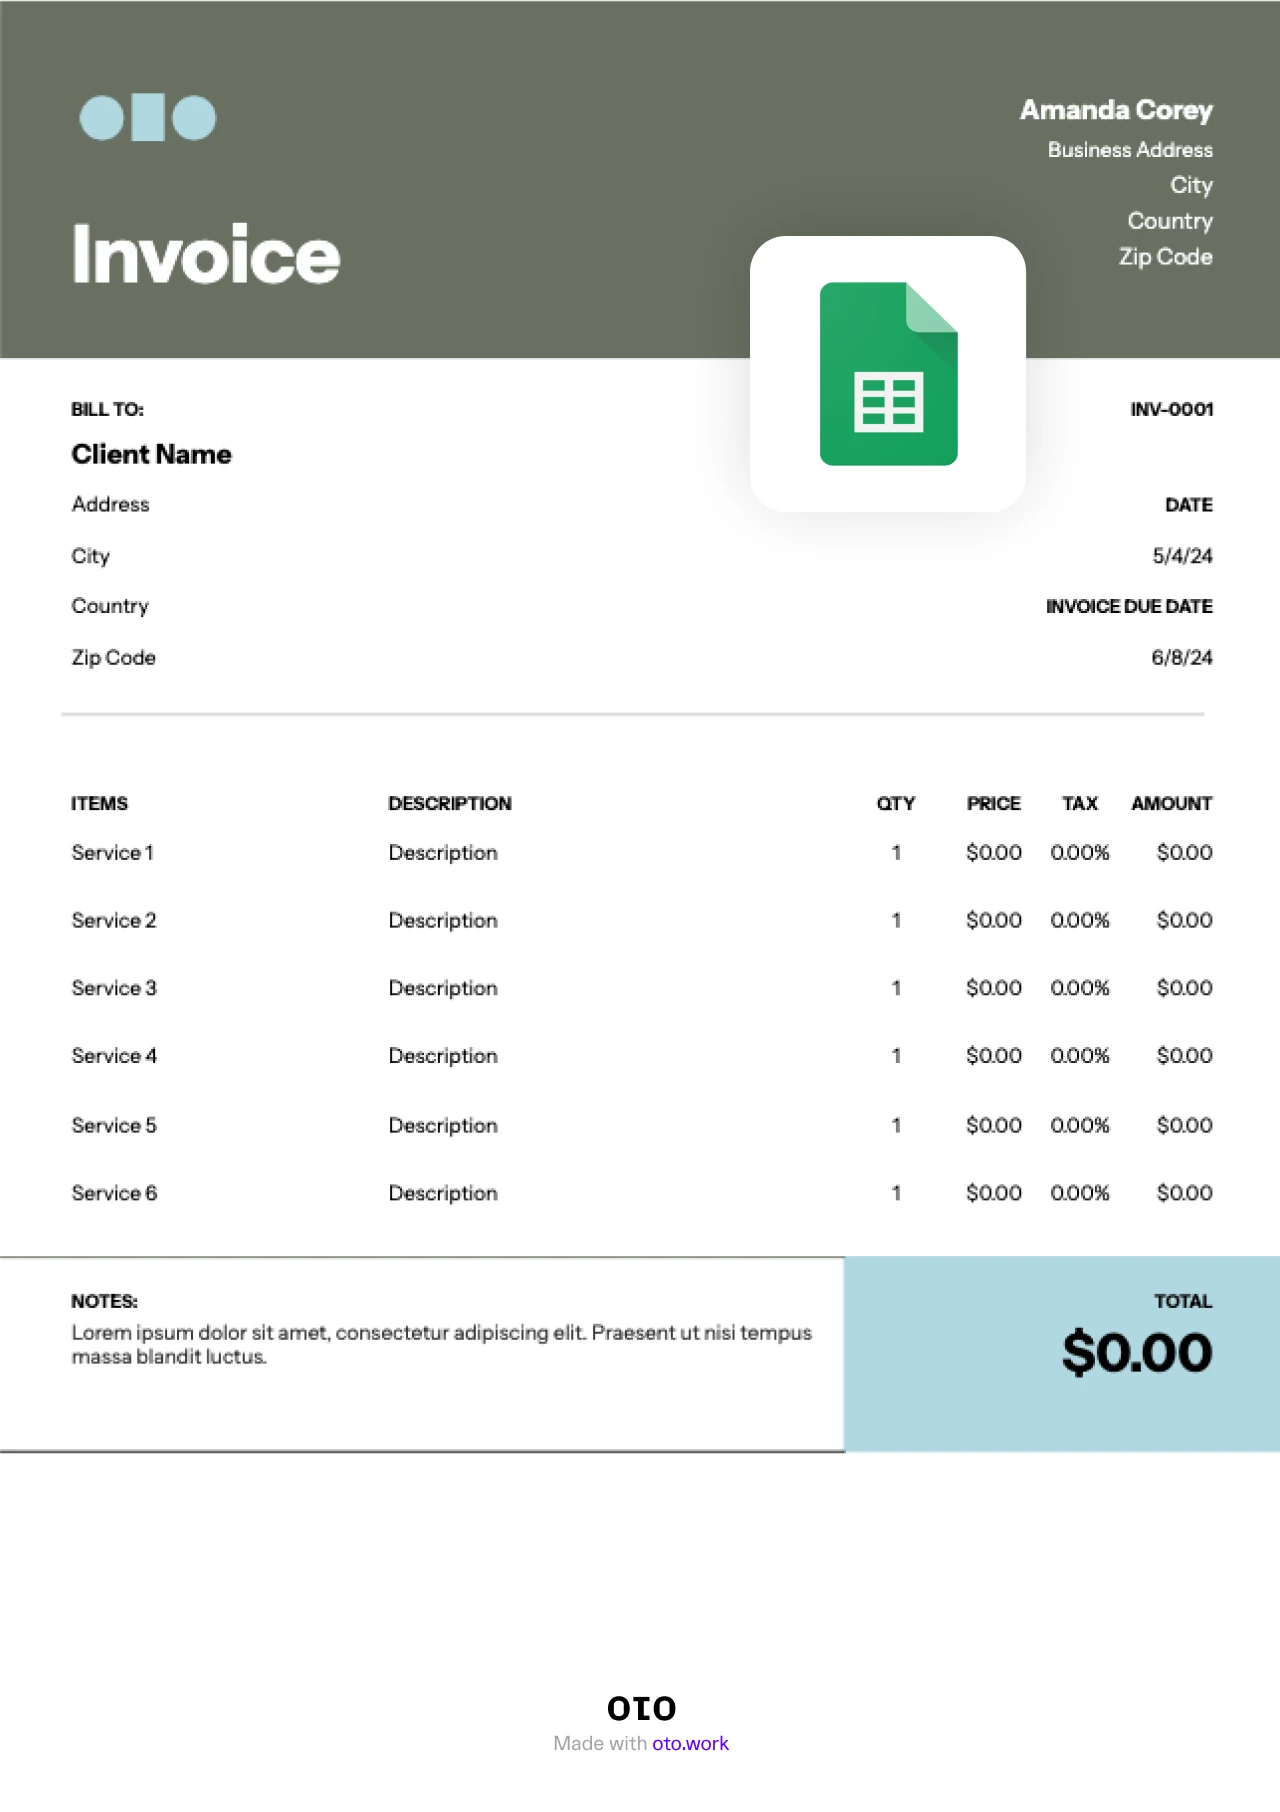
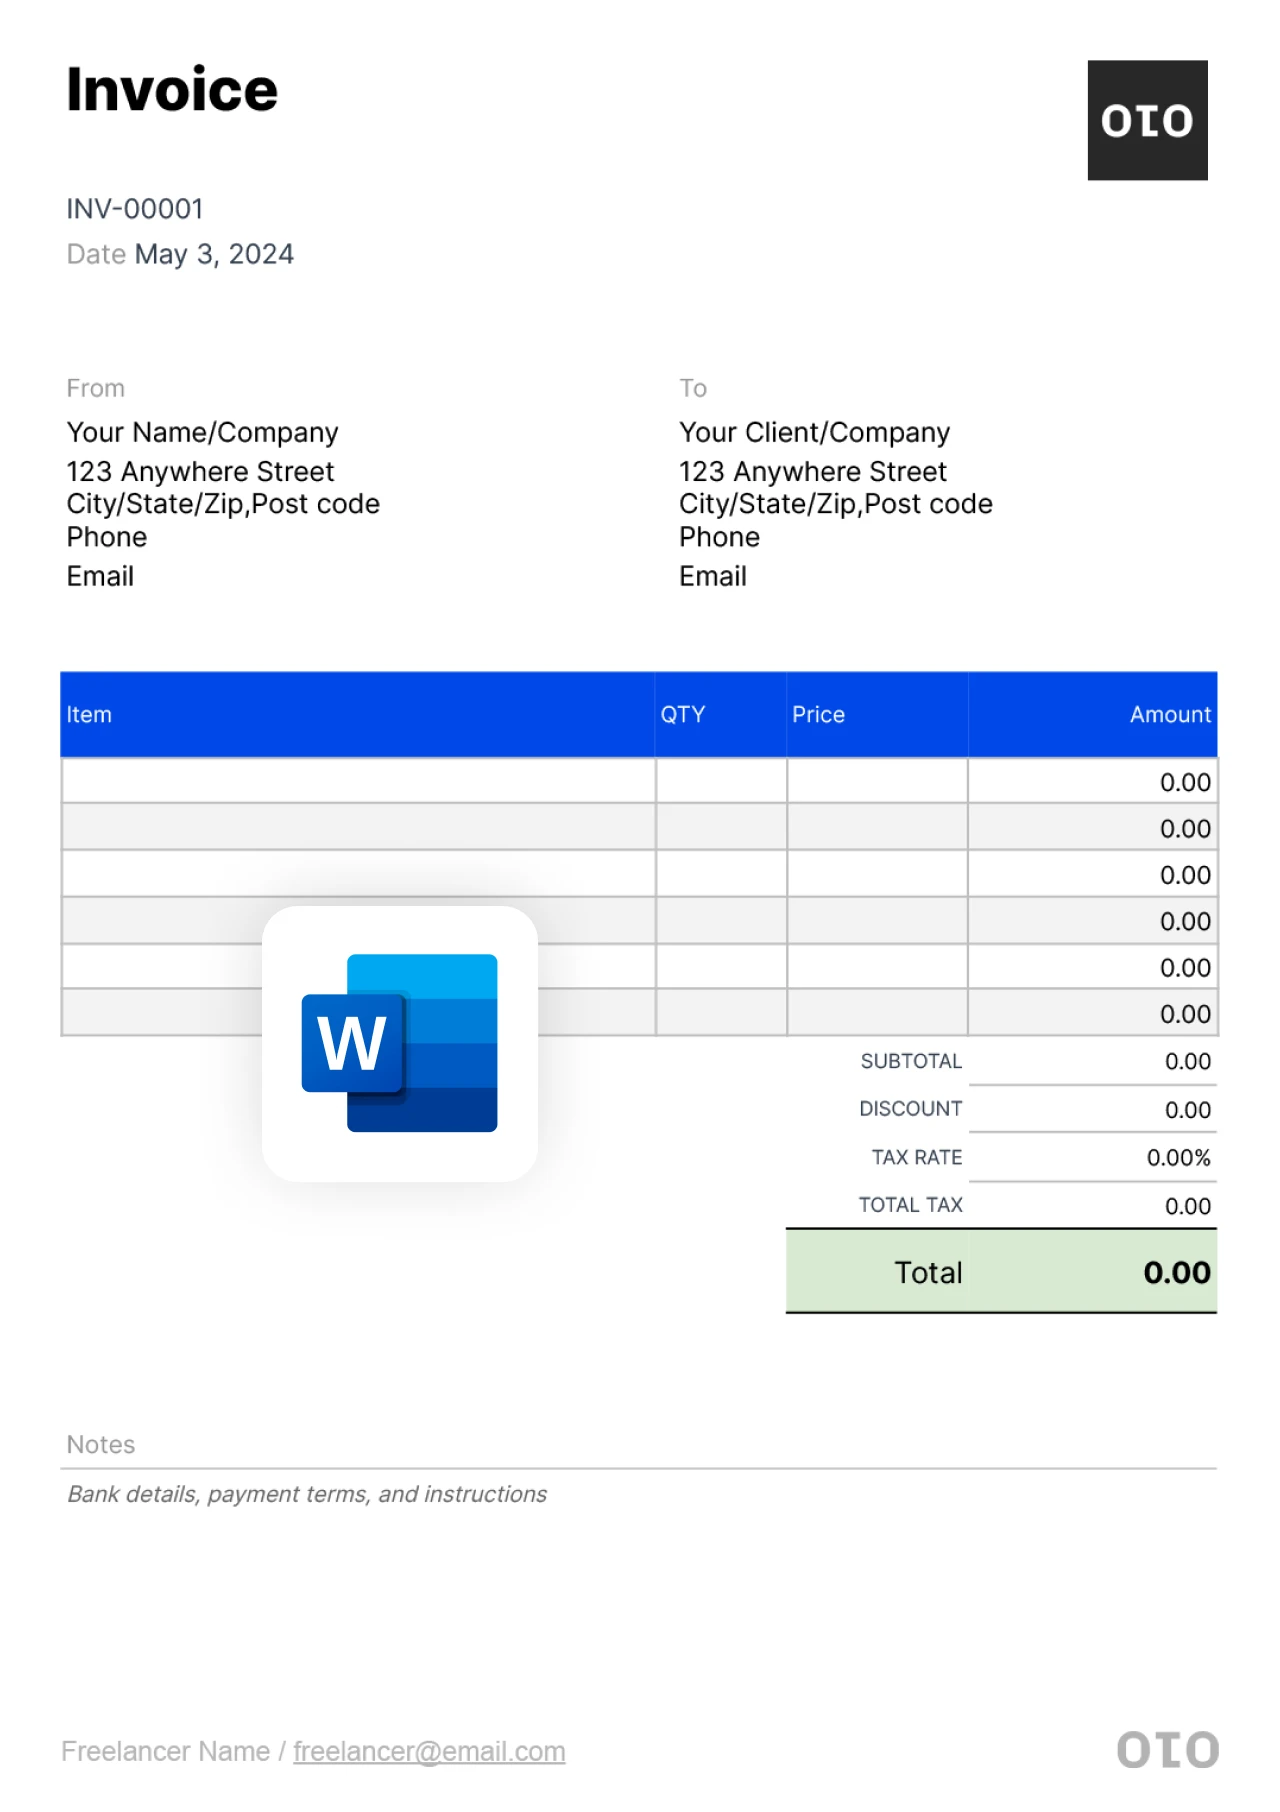
1. Invoice number and date
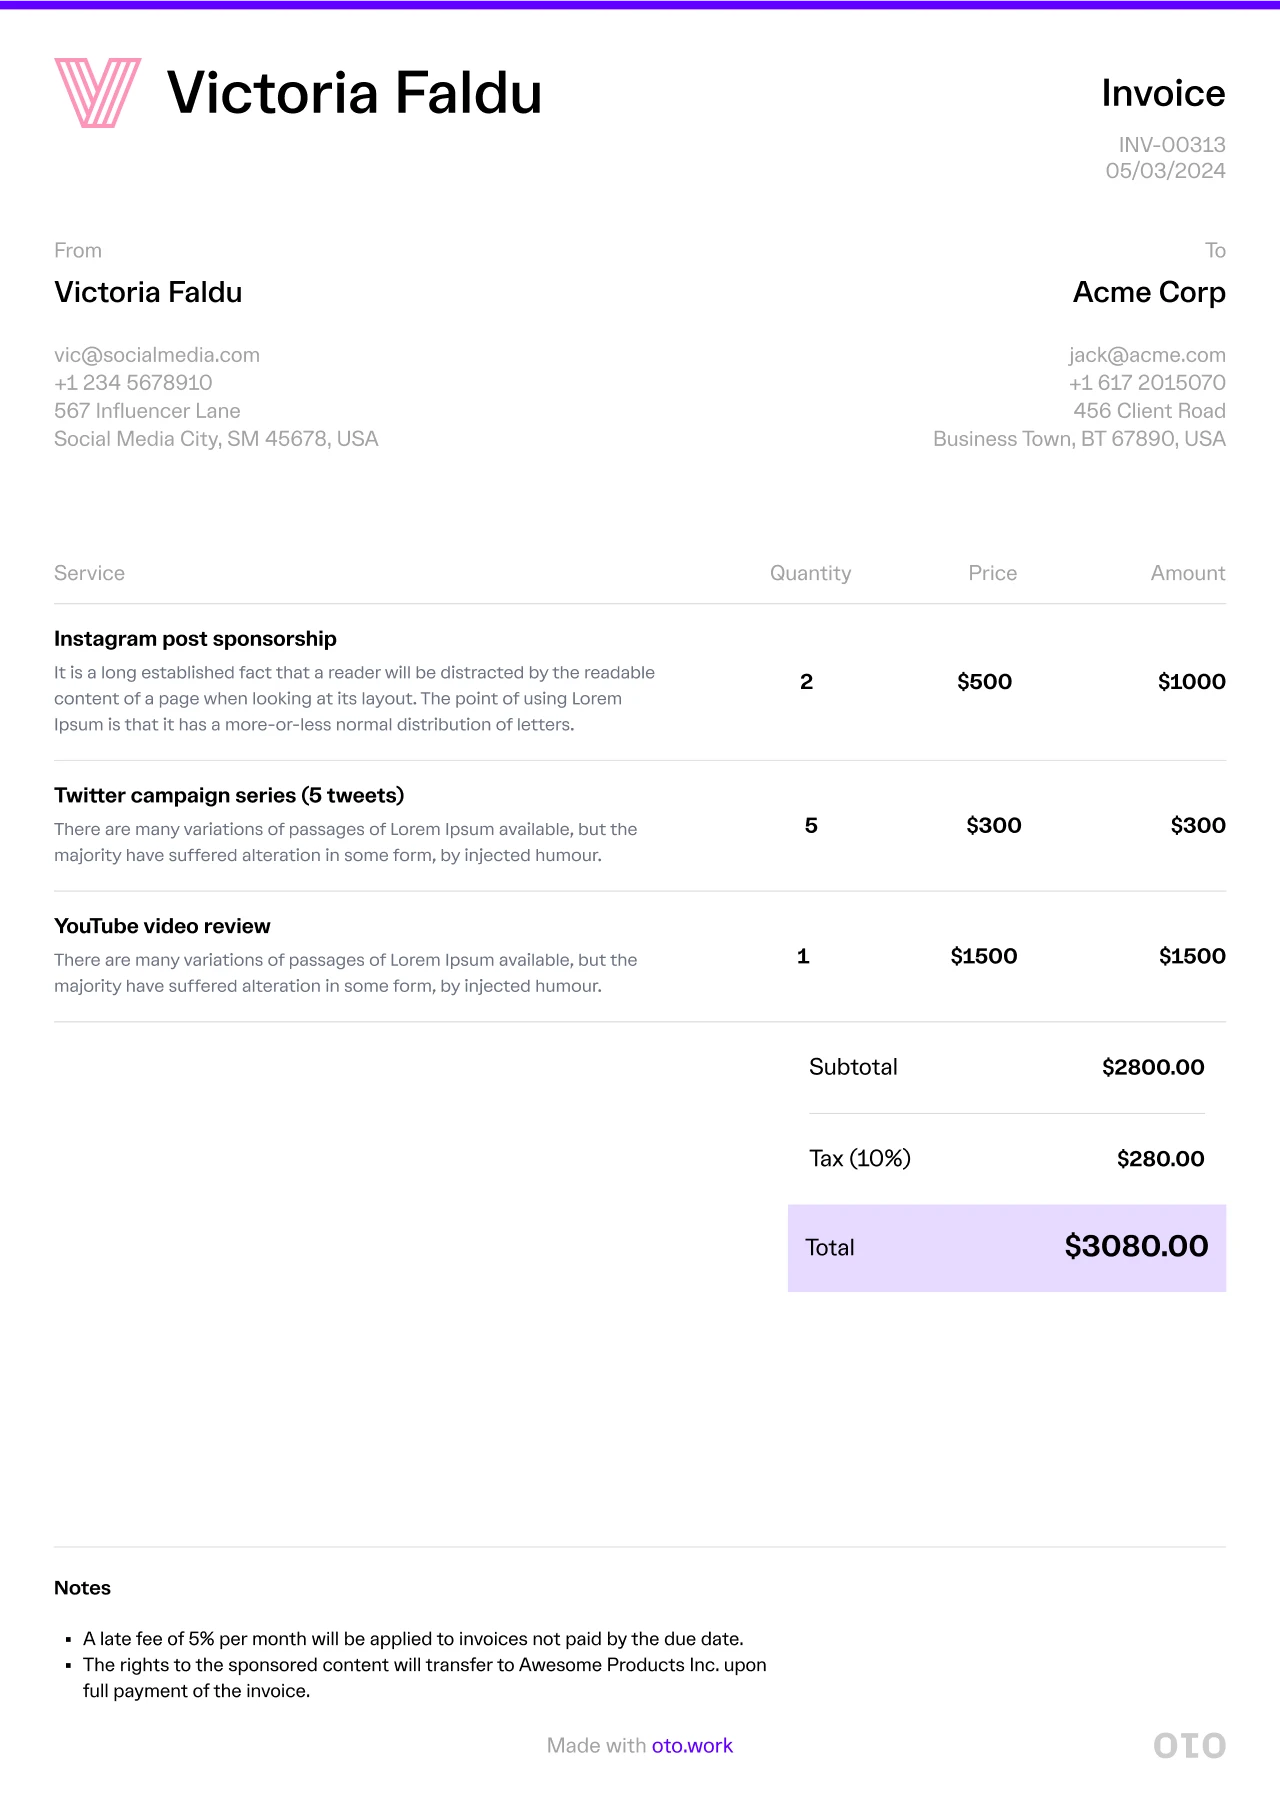
Include the invoice number and date at the top of the invoice to make it easy for the client.
2. Business and Information
This is where you include you or your business name, address, number, email, or any other info you see necessary
3. Client information
This is where you include the client’s name, address, number, email, or any other info you see necessary.
4. Description of work and rates
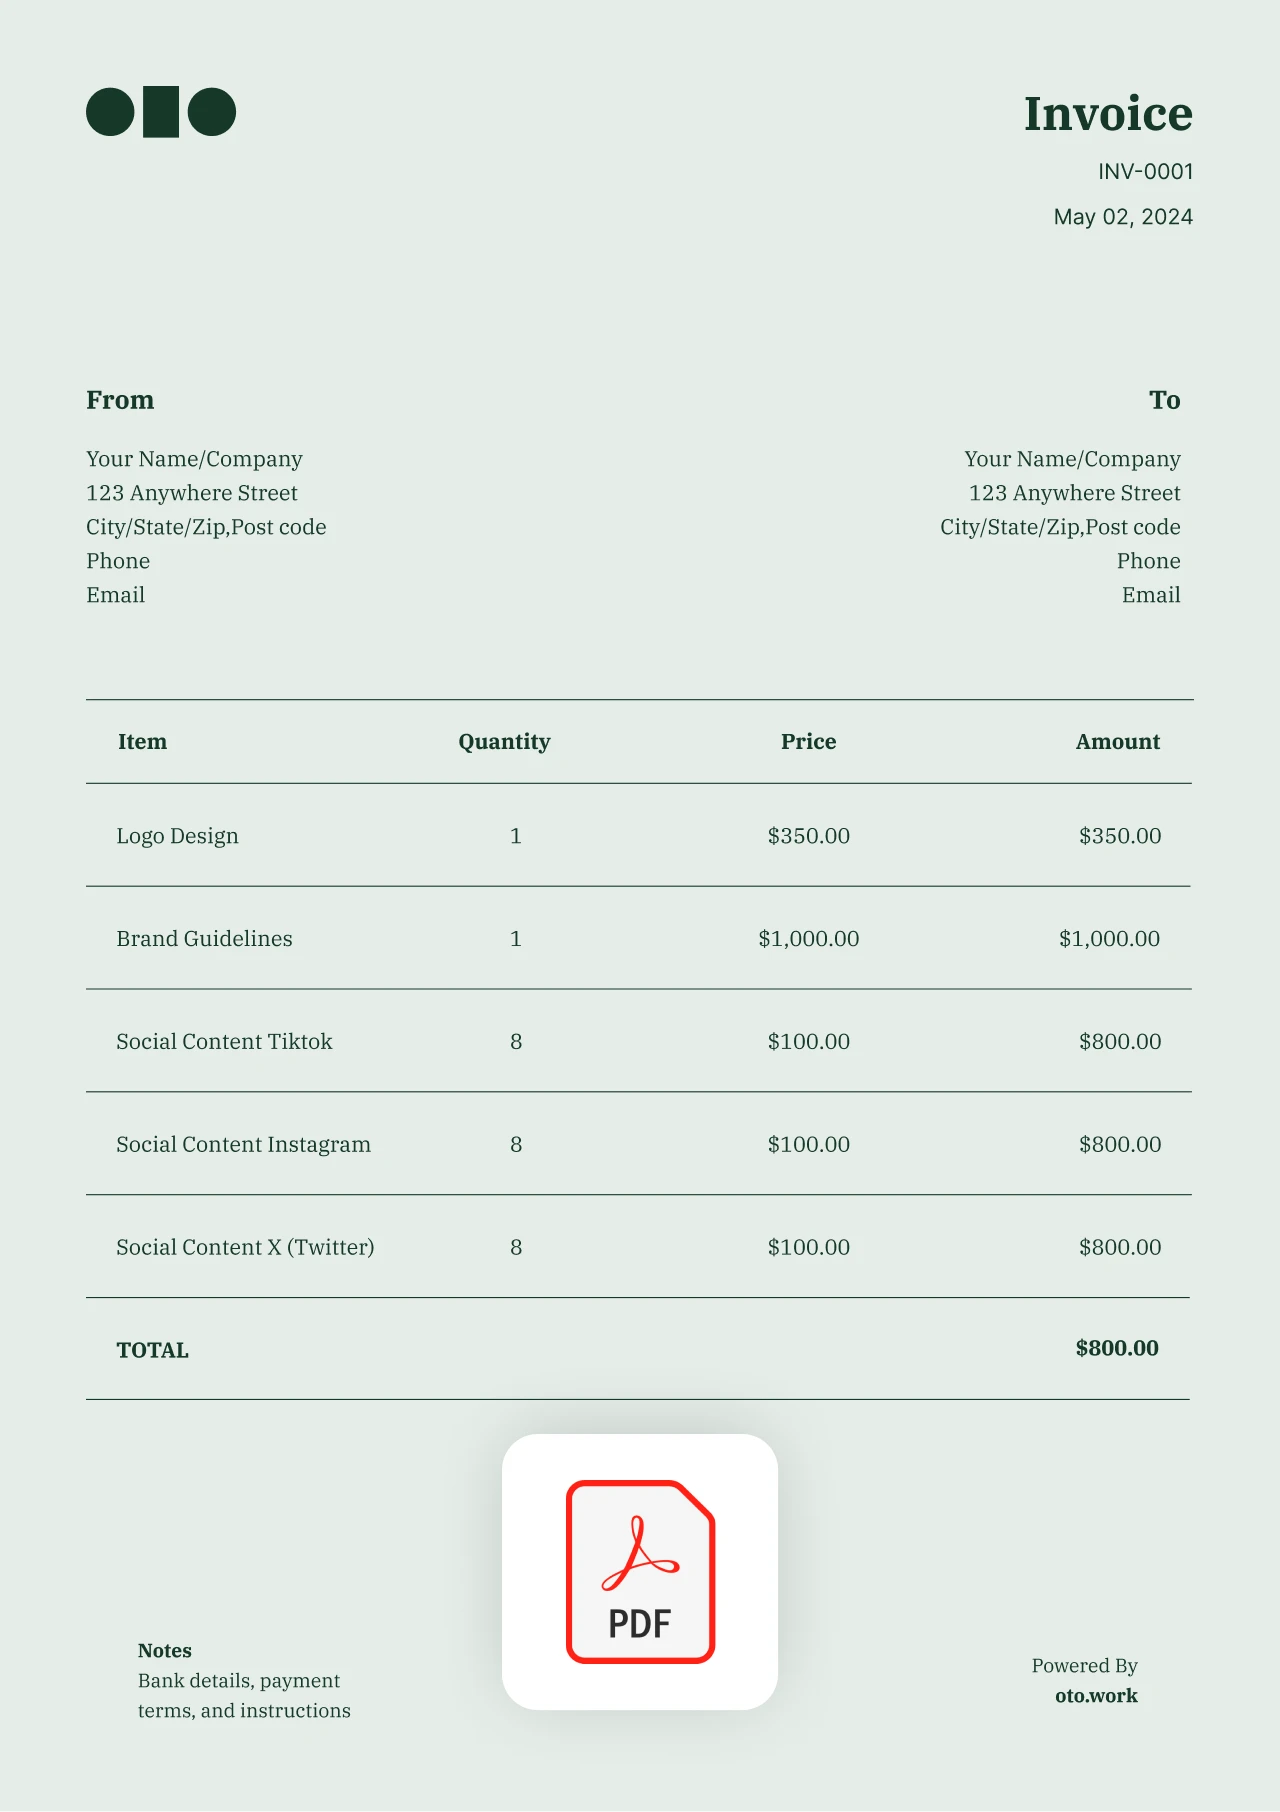
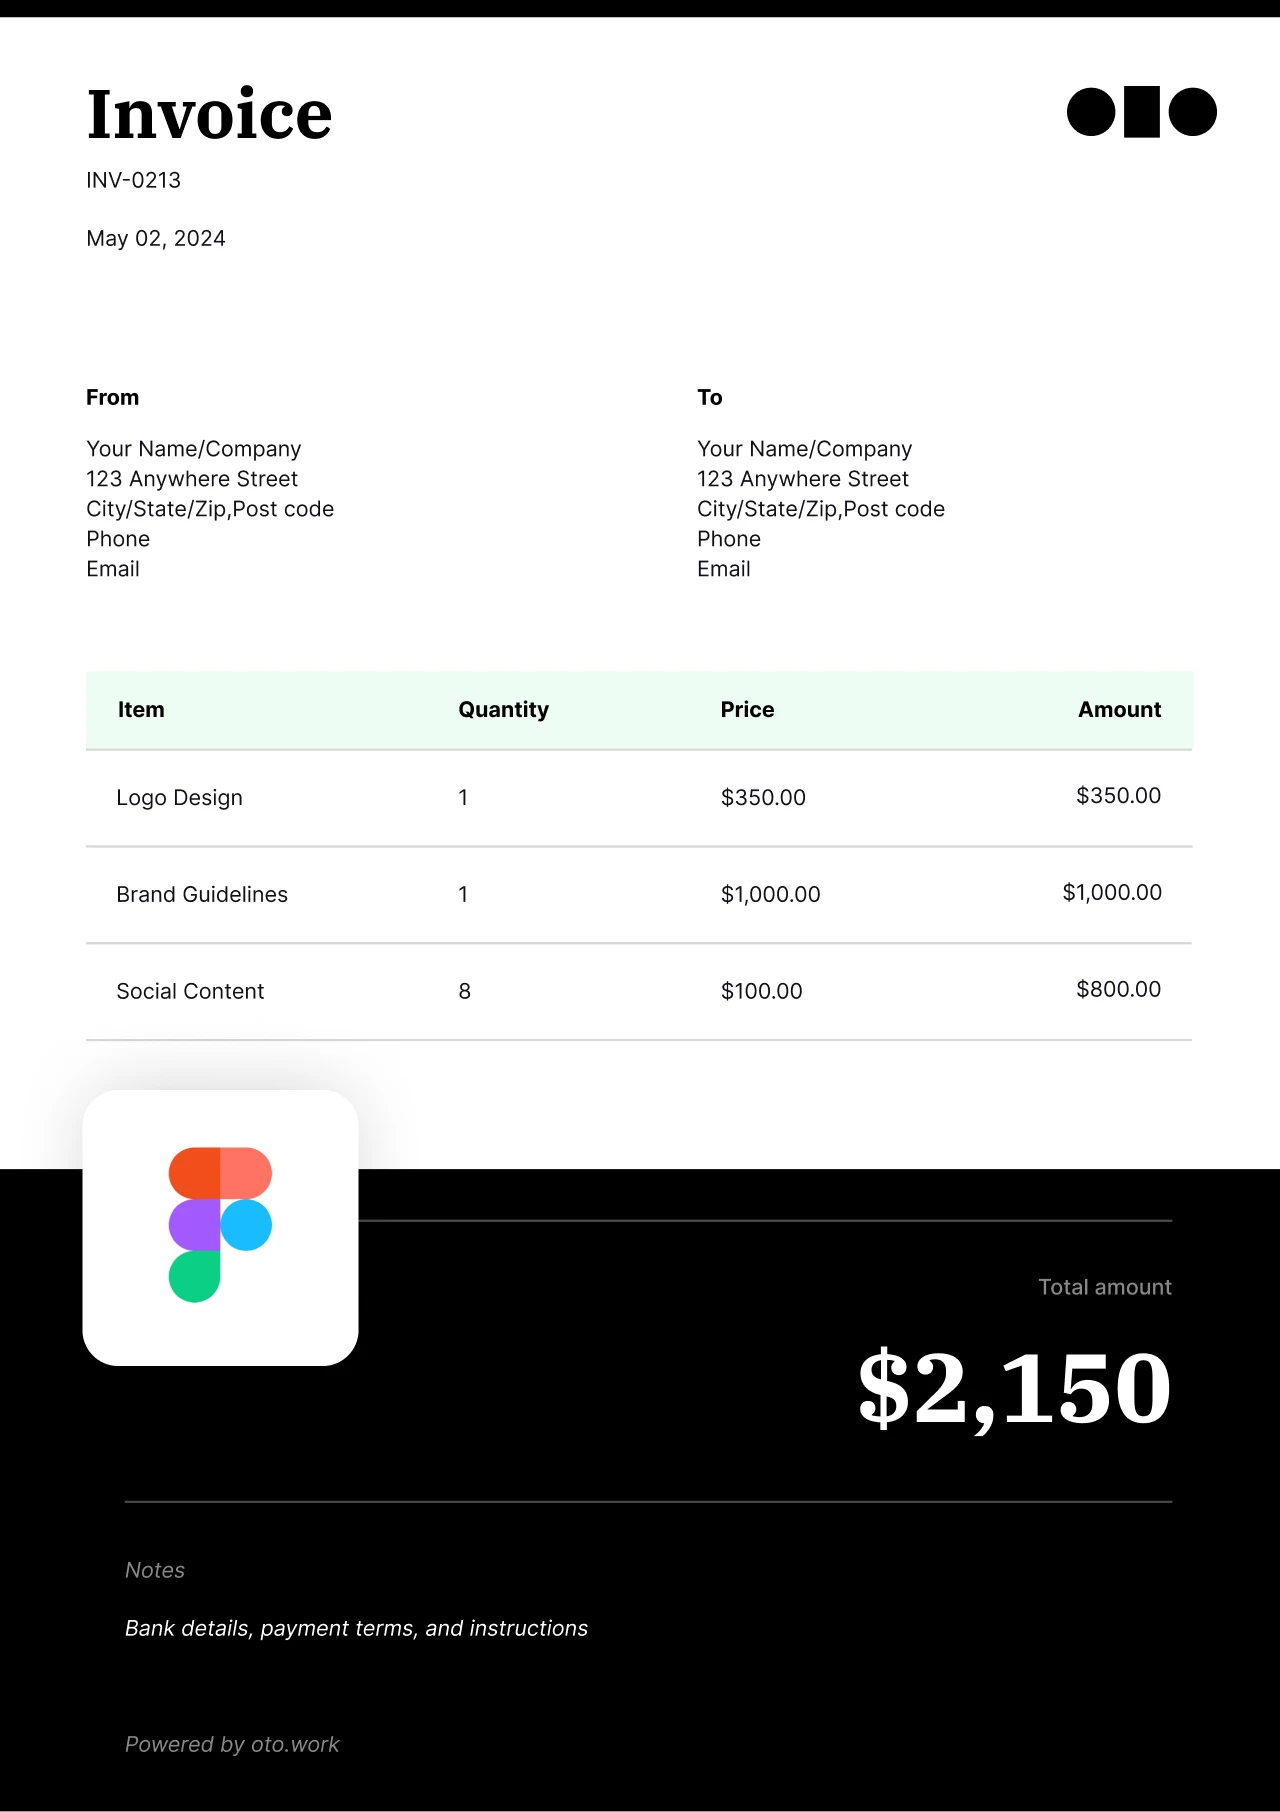
Include a short description of the work you did, the quantity delivered or hours worked, and the price for each item.
5. Discounts, tax, and total amount
Add any discounts, your tax, and include the total amount needed to be paid at the bottom
6. Notes
Include any notes you have, if there are any, at the end of the invoice
How to send an invoice if you do service work
You may be wondering how to send out an invoice to get paid for the services you have rendered. The simplest and fastest way to send an invoice is by email. It allows you to attach an uneditable invoice in PDF format to help prevent fraud. Make sure to include a brief description of your company and of the invoice in its body.
When to send a service invoice
There’s no legal set standard for when you should invoice a client for the services rendered. In most cases, accounting experts recommend sending the invoice immediately after you have completed an order or following a two-week cycle. If possible, try to agree on the payment terms before you have delivered any services.
How to charge for services rendered to a client
When invoicing a client for services rendered, make sure that your invoice contains an itemized list of all the services offered during that billing cycle
After that, you’ll need to settle on your billing method. This can be any one of the following:
- Hourly – Which varies depending on skill level and location
- Per project – Rates will depend on the scope of work
- Daily – This will vary depending on the amount of work
- On Retainer – As per negotiated with the client

