Freelance Invoice Template
Working as a freelancer means bringing your knowledge and skills to every project you handle. The invoice template generator from oto helps you create invoices that resonate with clients, have accurate product details, and with calculable tax amounts.
 Add Discount/Tax
 Add Notes

Build Your First Invoice & Get Paid Faster
Our invoice templates are available in Google Docs, Google Sheets, Word, PDF, Excel, Canva, Notion, Figma, and Illustrator. Simply hit the download button, update the invoice with your design logo and branding, fill in the details, and you’re ready to hit send!

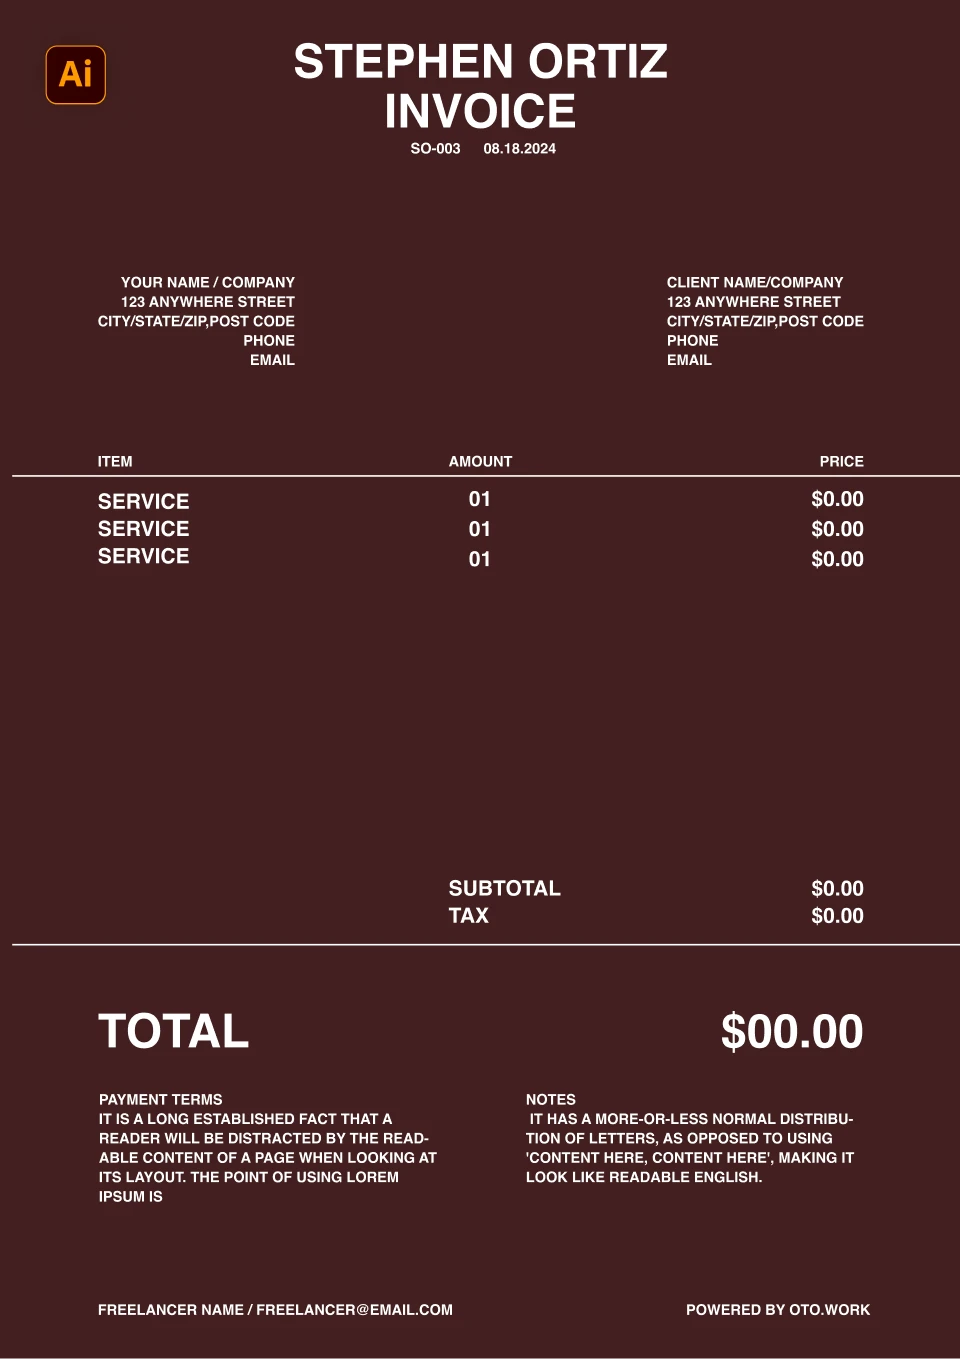
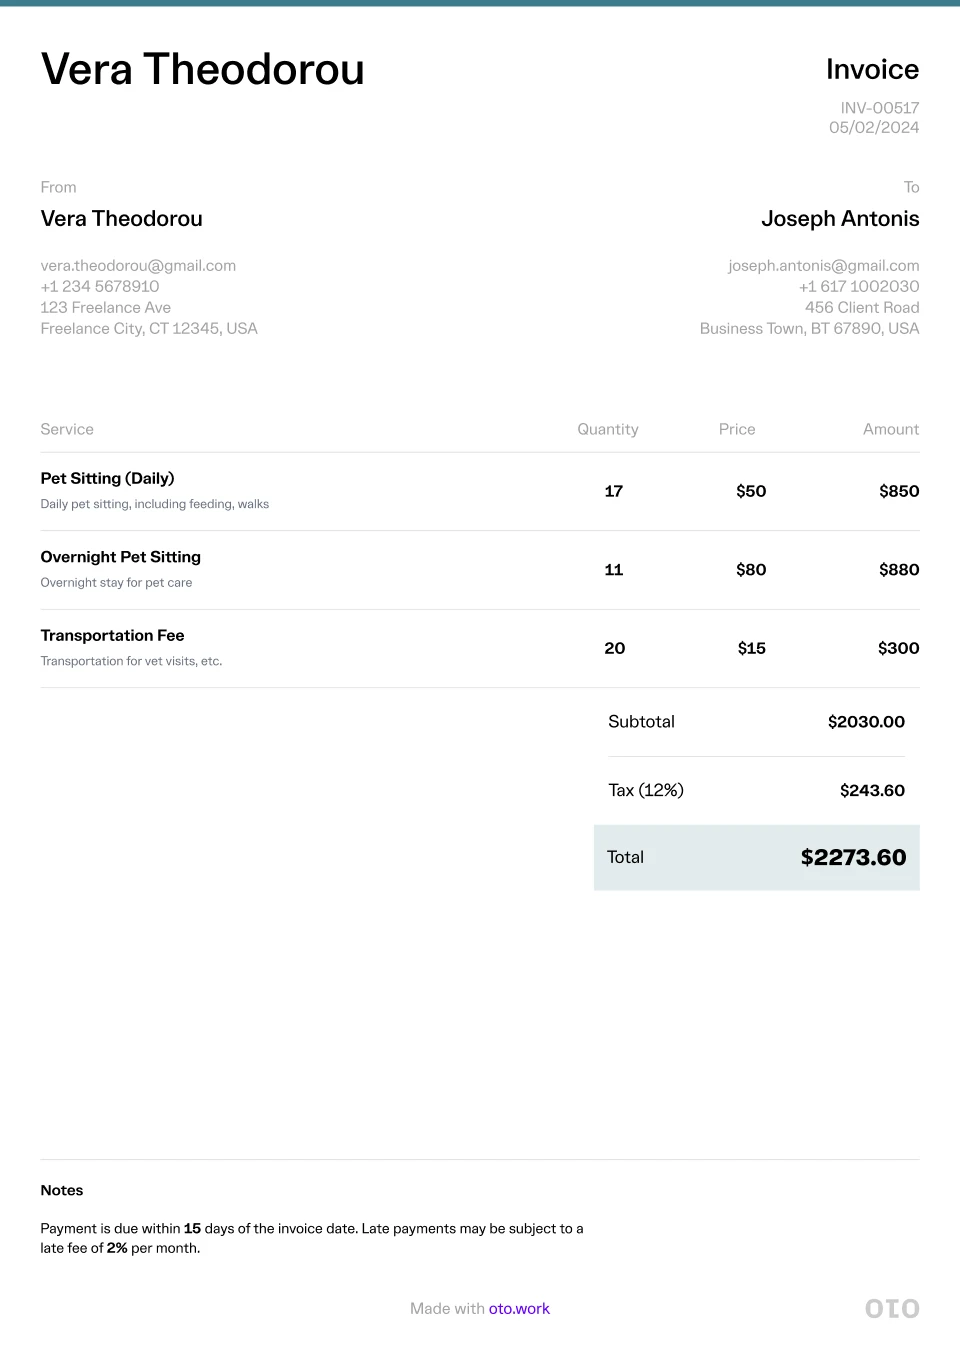

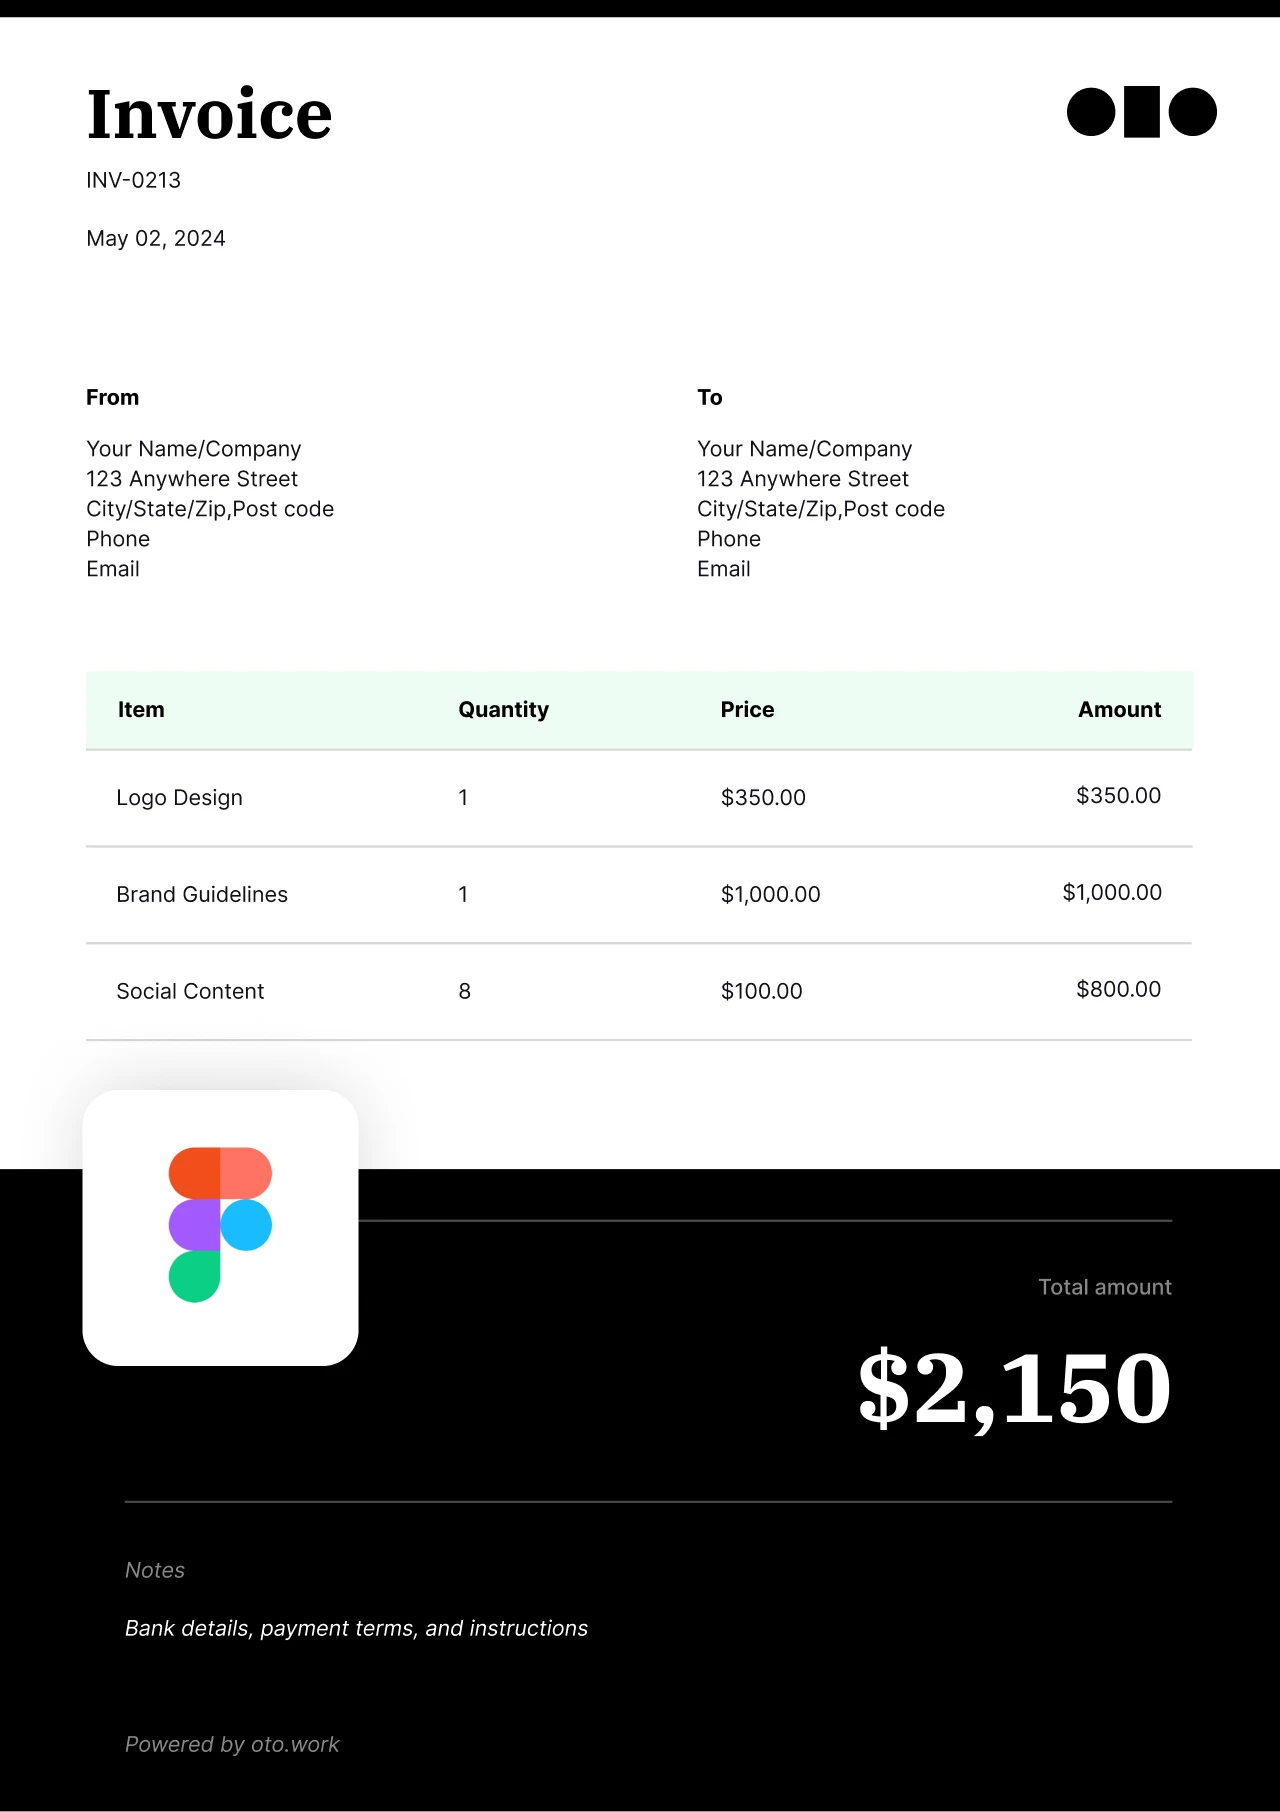
Table of Contents
How to make an invoice for freelancers with oto What to add in an invoice for freelancers How to send an invoice as a freelancer When to send an invoice as a freelancer How to charge for freelance service1. Choose your currency
2. Enter your name
3. Enter your client's name
4. Invoice issue date
5. Invoice due date
6. Enter your services and describe what you offered
7. Add tax or discount
8. Add special notes or payment information
What to add in a freelance invoice
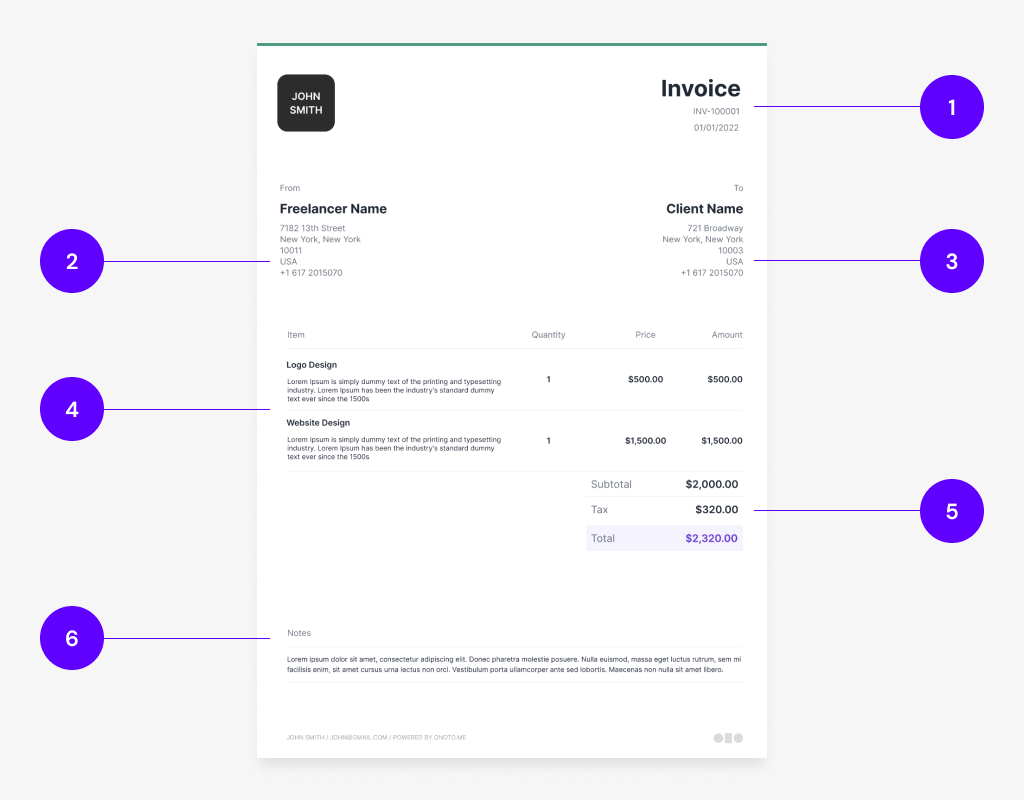
1. Invoice number and date
Include the invoice number and date at the top of the invoice to make it easy for the client.
2. Business and Information
This is where you include you or your business name, address, number, email, or any other info you see necessary
3. Client information
This is where you include the client’s name, address, number, email, or any other info you see necessary.
4. Description of work and rates
Include a short description of the work you did, the quantity delivered or hours worked, and the price for each item.
5. Discounts, tax, and total amount
Add any discounts, your tax, and include the total amount needed to be paid at the bottom
6. Notes
Include any notes you have, if there are any, at the end of the invoice
How to send an invoice as a freelancer
In order to bill for goods and services rendered to clients, you must start by determining your preferred method of invoicing. Normally, this can be as simple as generating a template document with oto that you can edit to suit your needs.
When to send an invoice as a freelancer
You may be a content writer, digital marketer, social media freelancer, or designer, but no matter the niche, you must make sure to send the invoice on time for timely payments. Typically, the best time to send an invoice will depend on the project you're handling.
How to charge for freelance services
Knowing how to charge for freelancer services is an important part of freelancing, although it is incredibly difficult to get started. Luckily for you, there are different types of pricing models that you can use, with some being more common than others.
Examples include:
- By the hour: It's a pricing model commonly used by beginner freelancers.
- By the day: Here, you get to charge a daily rate for every day you have worked for a client.
- By the word: It helps you get paid for the length of the work delivered.
- By the project: The model allows you to set a price/ flat fee for an individual project.