Free Invoice Generator
Use oto’s free invoice generator to create professional-looking invoices for your business needs. Just fill out all the relevant information in the invoice below and then you can save it, print it out or send it to your clients
 Add Discount/Tax
 Add Notes

Build Your First Invoice & Get Paid Faster
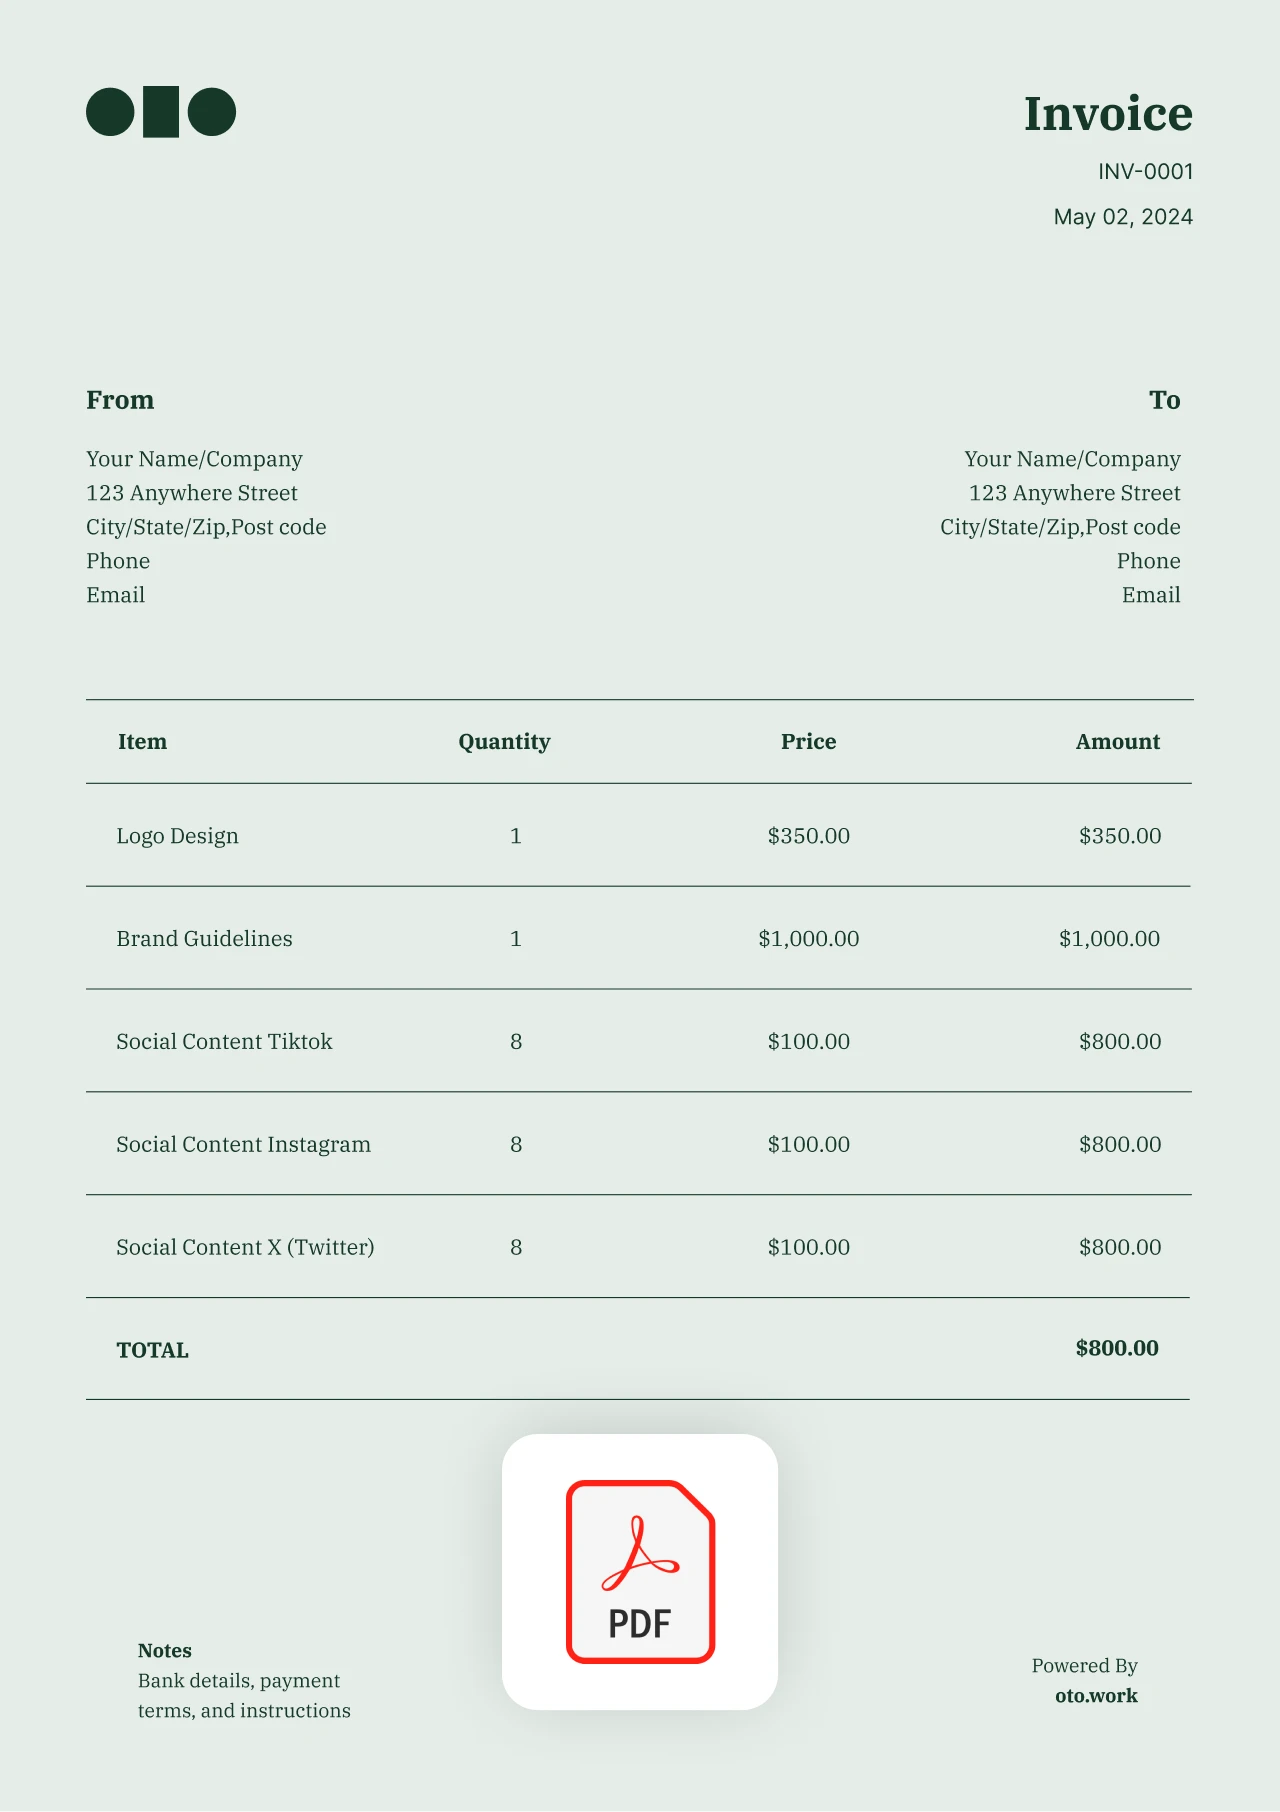
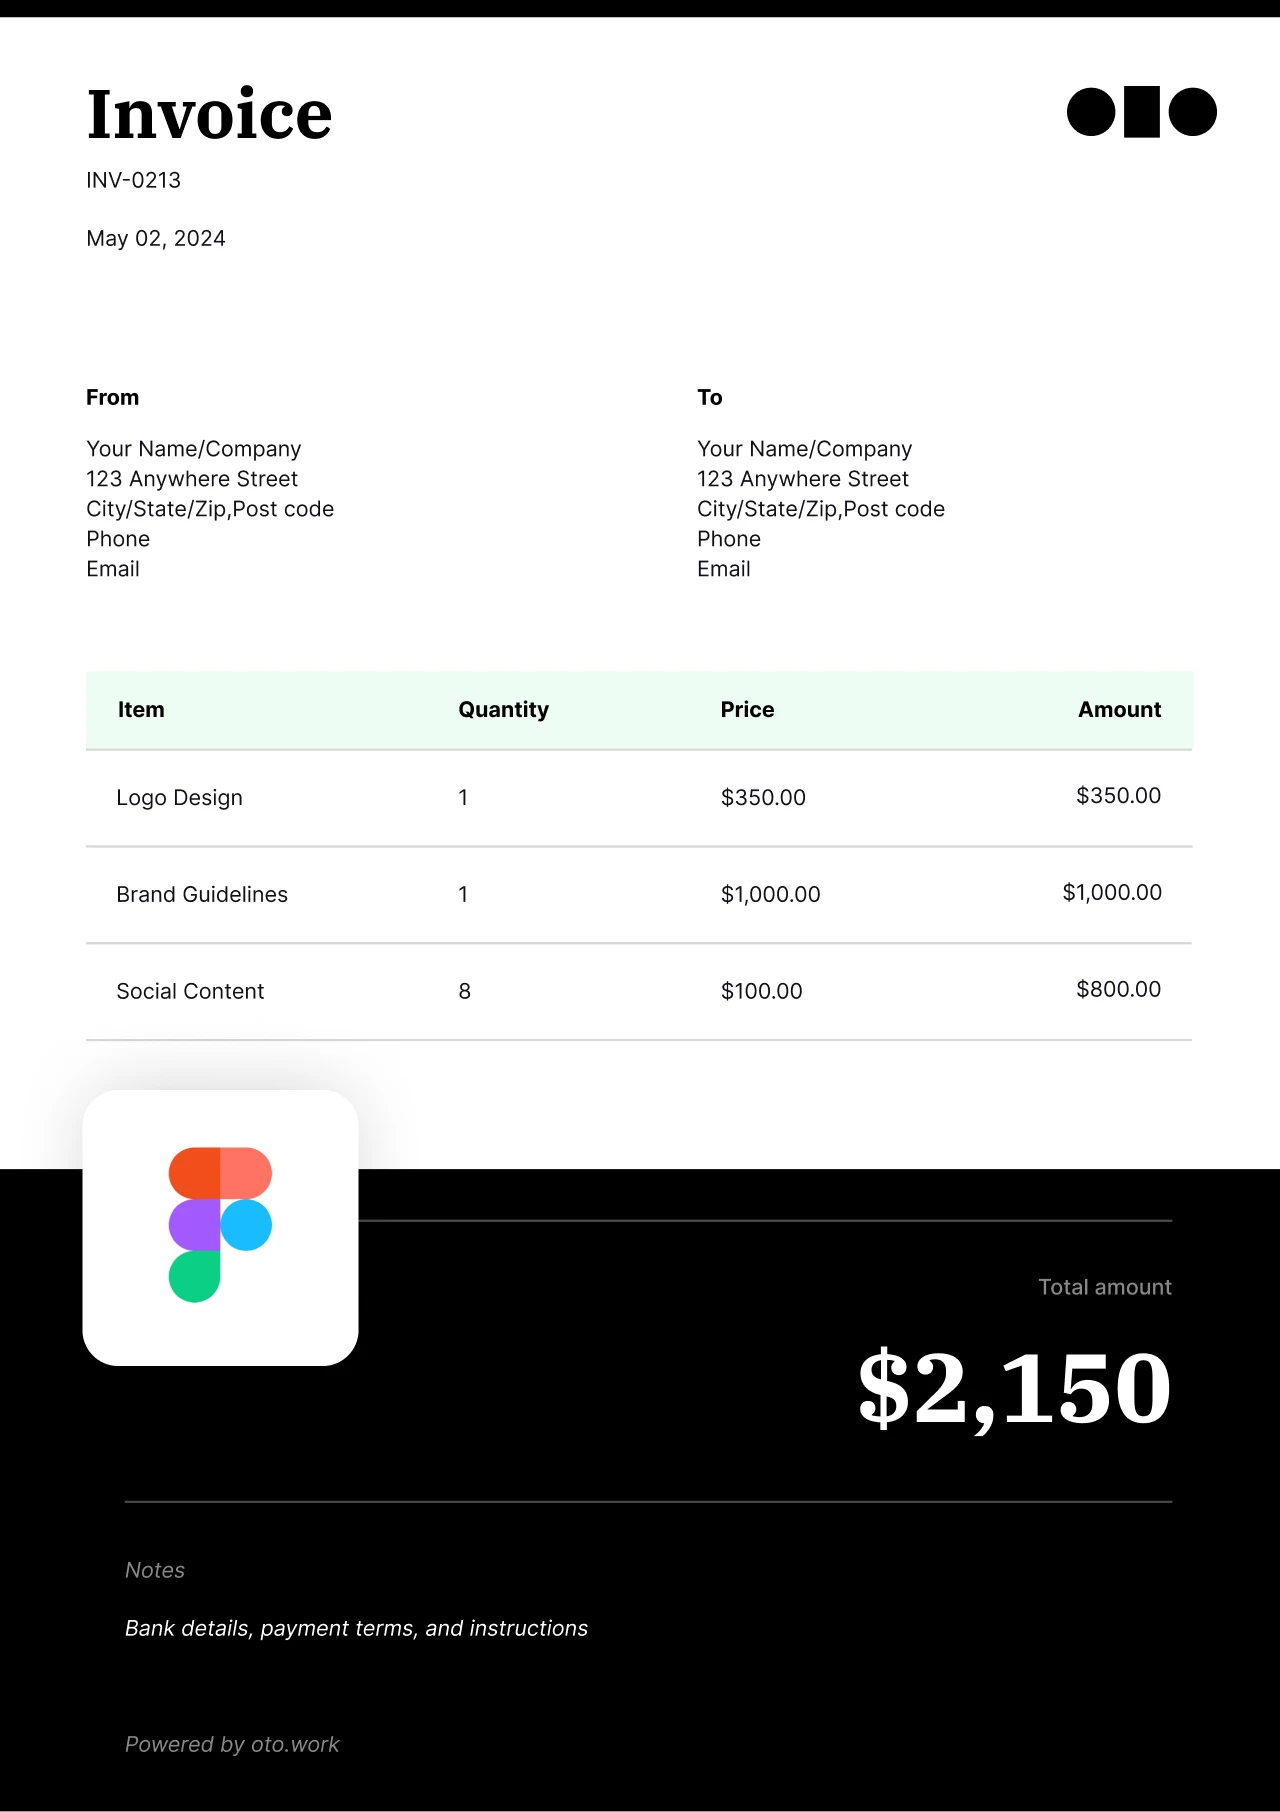
Our invoice templates are available in Google Docs, Google Sheets, Word, PDF, Excel, Canva, Notion, Figma, and Illustrator. Simply hit the download button, update the invoice with your design logo and branding, fill in the details, and you’re ready to hit send!


How to make an invoice with oto
Freelancers need a way to bill for their services. The oto invoice generator provides you with a fast and efficient way to improve your cash flow. It enables you to create an invoice following approved invoicing formats without losing sight of your work.
1. Choose your currency
2. Enter your name
3. Enter your client's name
4. Invoice issue date
5. Invoice due date
6. Enter your services and describe what you offered
7. Add tax or discount
8. Add special notes or payment information
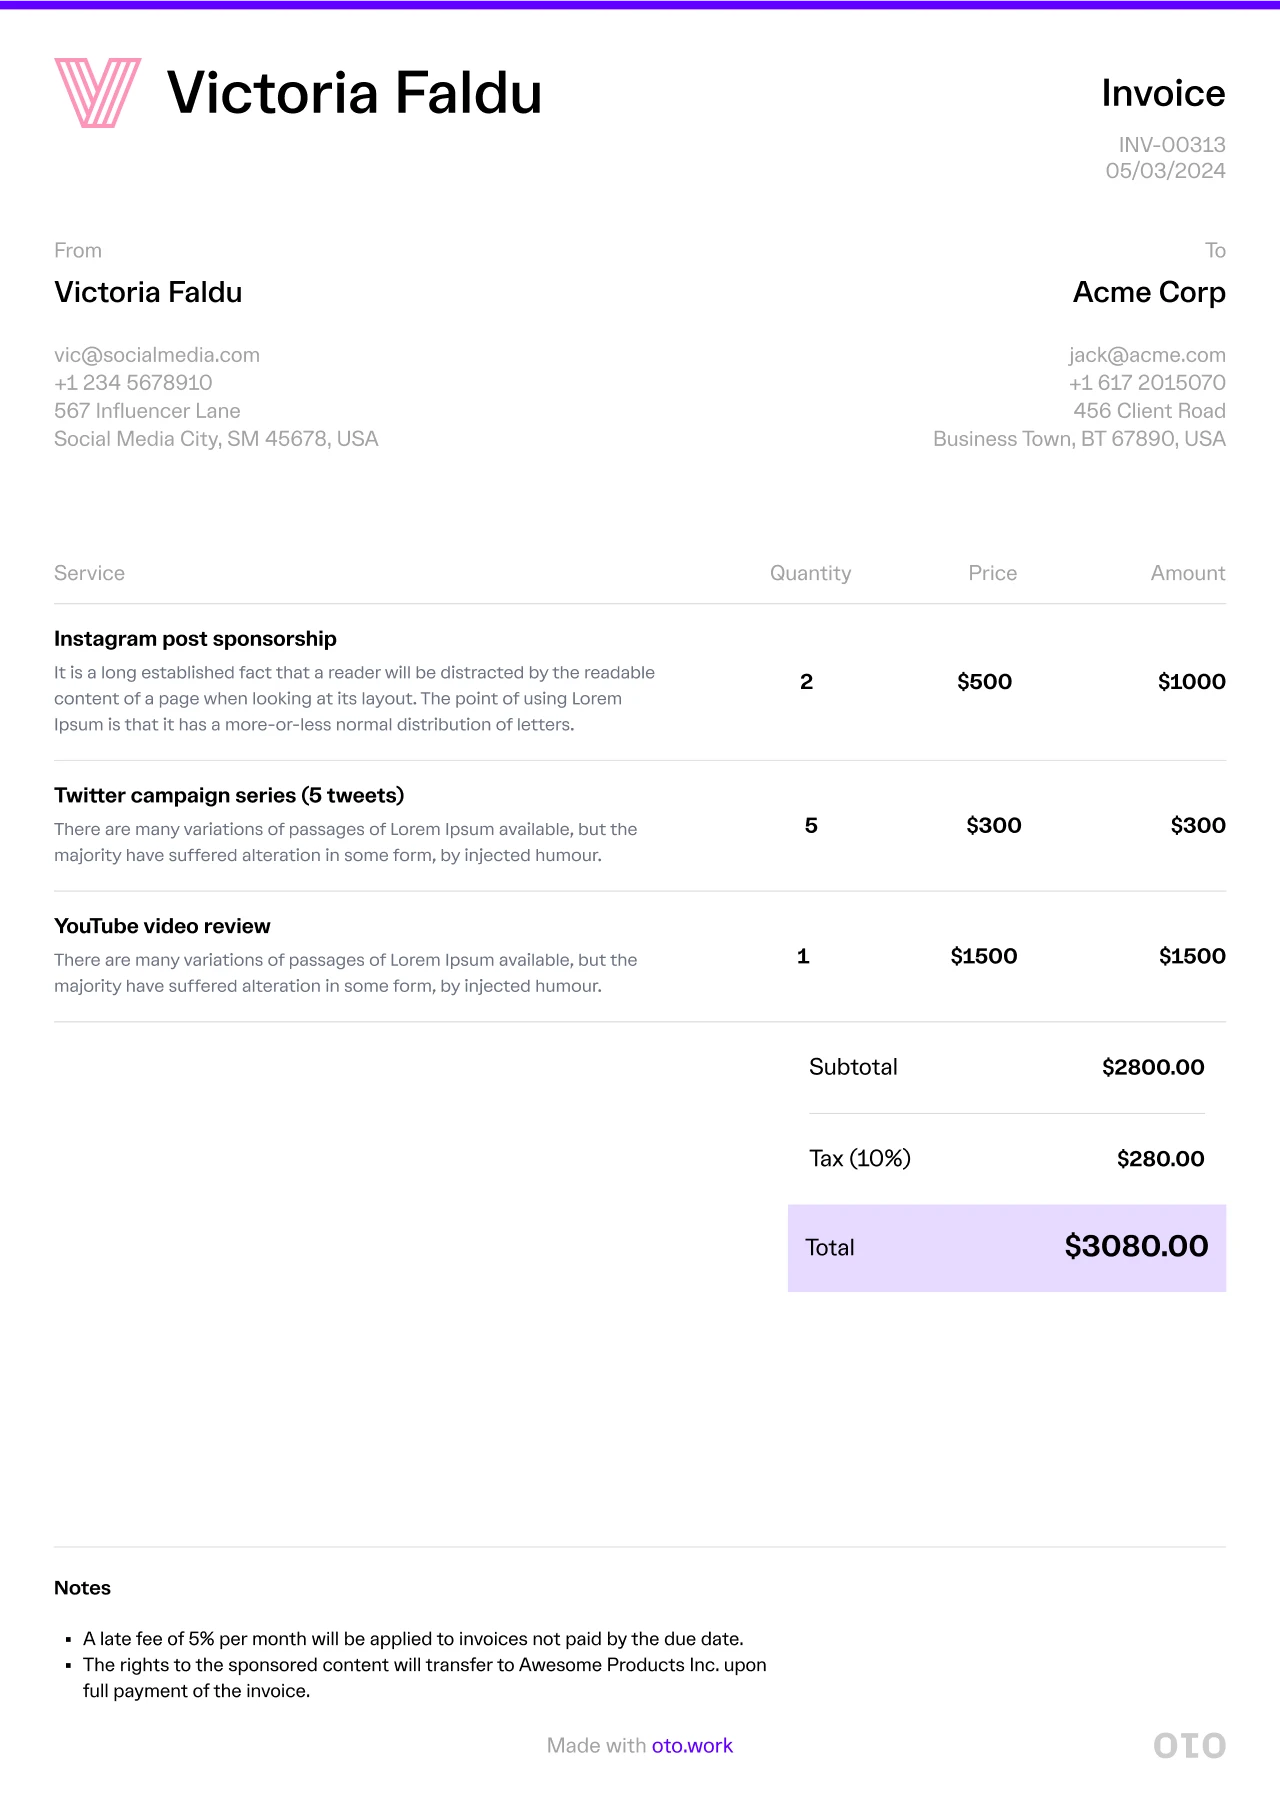
What to add in an invoice
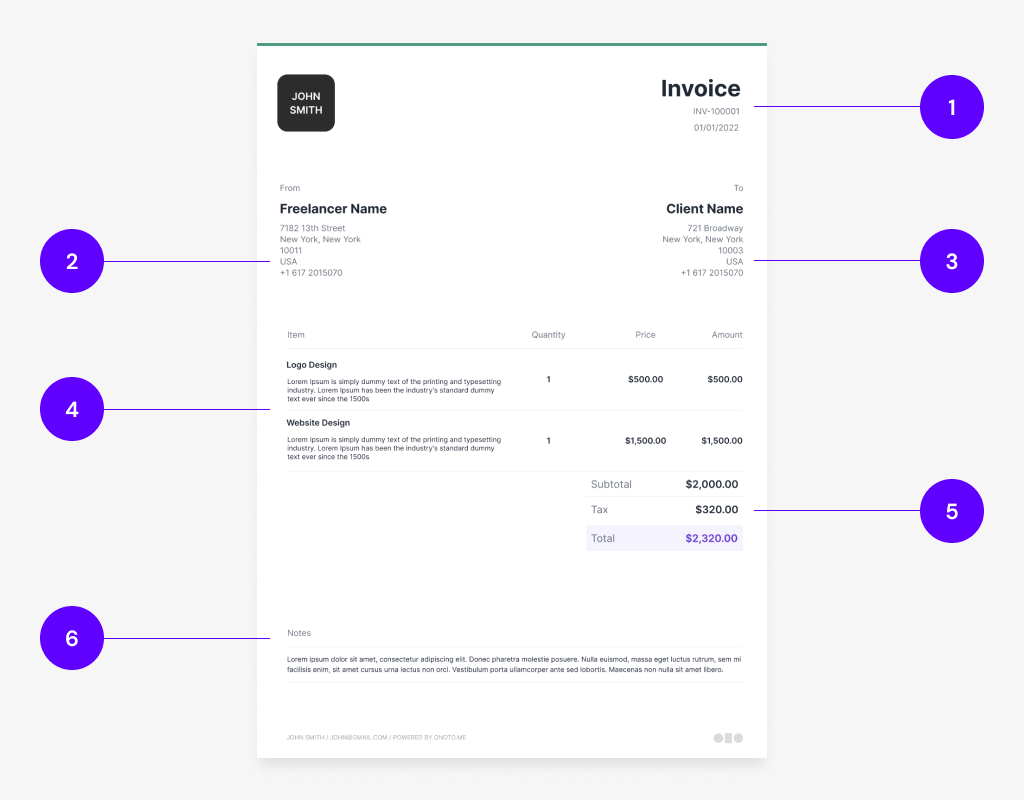
1. Invoice number and date
Include the invoice number and date at the top of the invoice to make it easy for the client.
2. Business and Information
This is where you include you or your business name, address, number, email, or any other info you see necessary
3. Client information
This is where you include the client’s name, address, number, email, or any other info you see necessary.
4. Description of work and rates
Include a short description of the work you did, the quantity delivered or hours worked, and the price for each item.
5. Discounts, tax, and total amount
Add any discounts, your tax, and include the total amount needed to be paid at the bottom
6. Notes
Include any notes you have, if there are any, at the end of the invoice
How to send an invoice
The simplest and fastest way to send an invoice is by email. It allows you to attach an uneditable invoice in PDF format to help prevent fraud. Make sure to include a brief description of your company and of the invoice in its body.
When to send an invoice
The right time to send an invoice is immediately after you’ve finished the work assigned to you by a customer. Sending it right away after service delivery is the surest way to keep cash flow consistent for your freelancing business. Remember, you need this cash to grow your business and cater to your work expenses.
How to charge for freelance work
Whether you’re a marketing expert, a copywriter, or a designer, all freelancers share one common challenge; determining how to charge for their work. Beginners particularly have a harder time deciding on how to price their work.
Here’s a look at popular pricing options for modern-day freelancers:
- Hourly/daily billing
- Fixed-price per project
- Retainers
Before you settle on a pricing option, consider the following tips:
- Make sure to adapt your rates as you gain experience
- Ask for a deposit when dealing with a fixed project
- Network with other freelancers to get an insight into the industry rates
- Use different pricing strategies for various clients