Hourly Invoice Template
When you’re a freelancer who needs to bill hourly, you don’t have time to waste on admin work. This calls for you to ensure that your invoicing is fast. This oto hourly invoice template has you covered.
 Add Discount/Tax
 Add Notes

Build Your First Invoice & Get Paid Faster
`Our invoice templates are available in Google Docs, Google Sheets, Word, PDF, Excel, Canva, Notion, Figma, and Illustrator. Simply hit the download button, update the invoice with your design logo and branding, fill in the details, and you’re ready to hit send!`

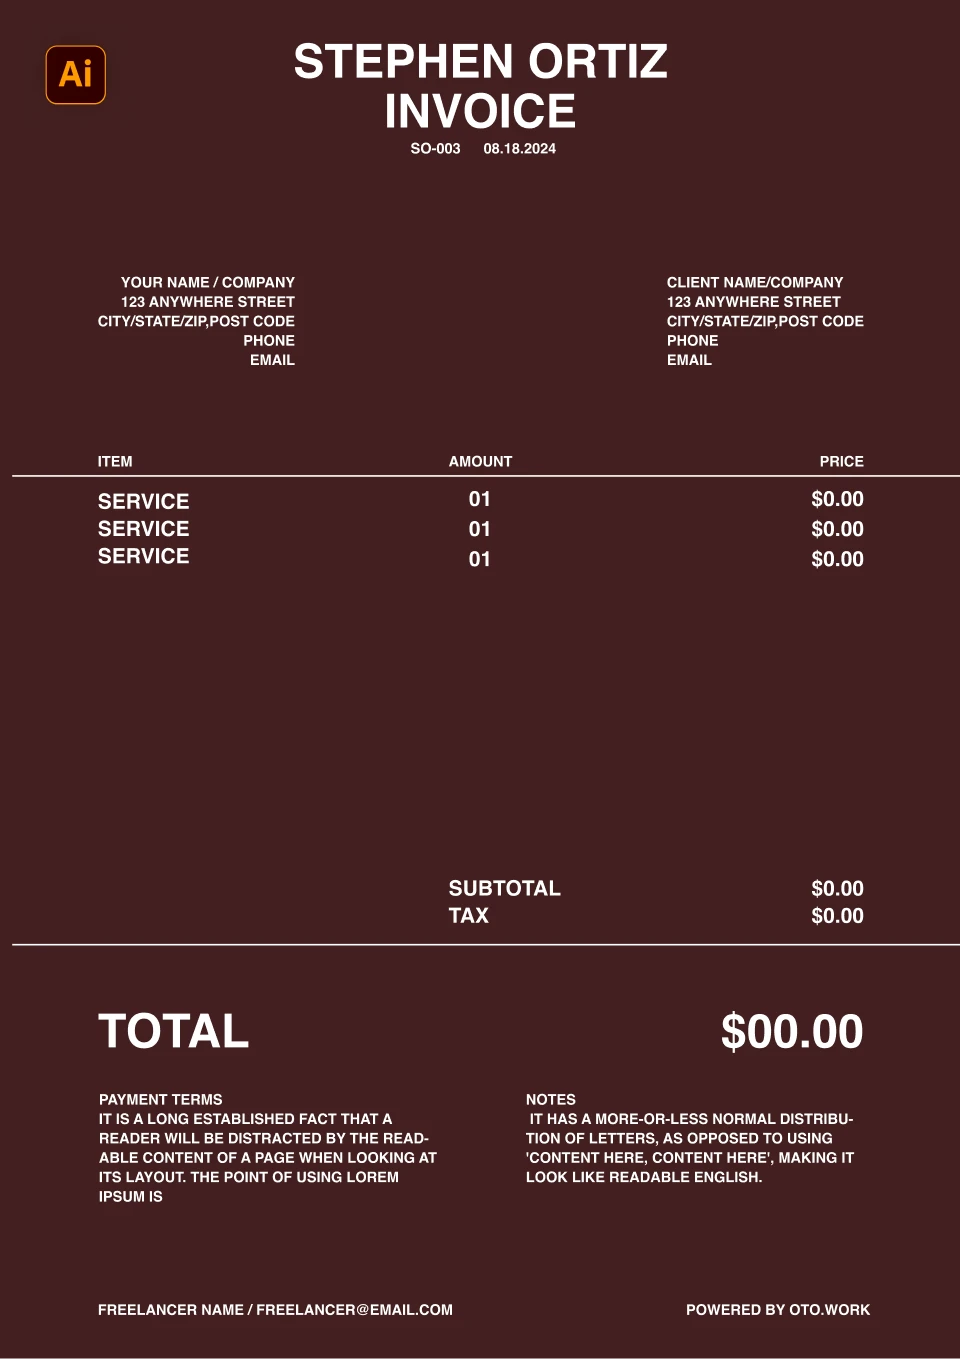
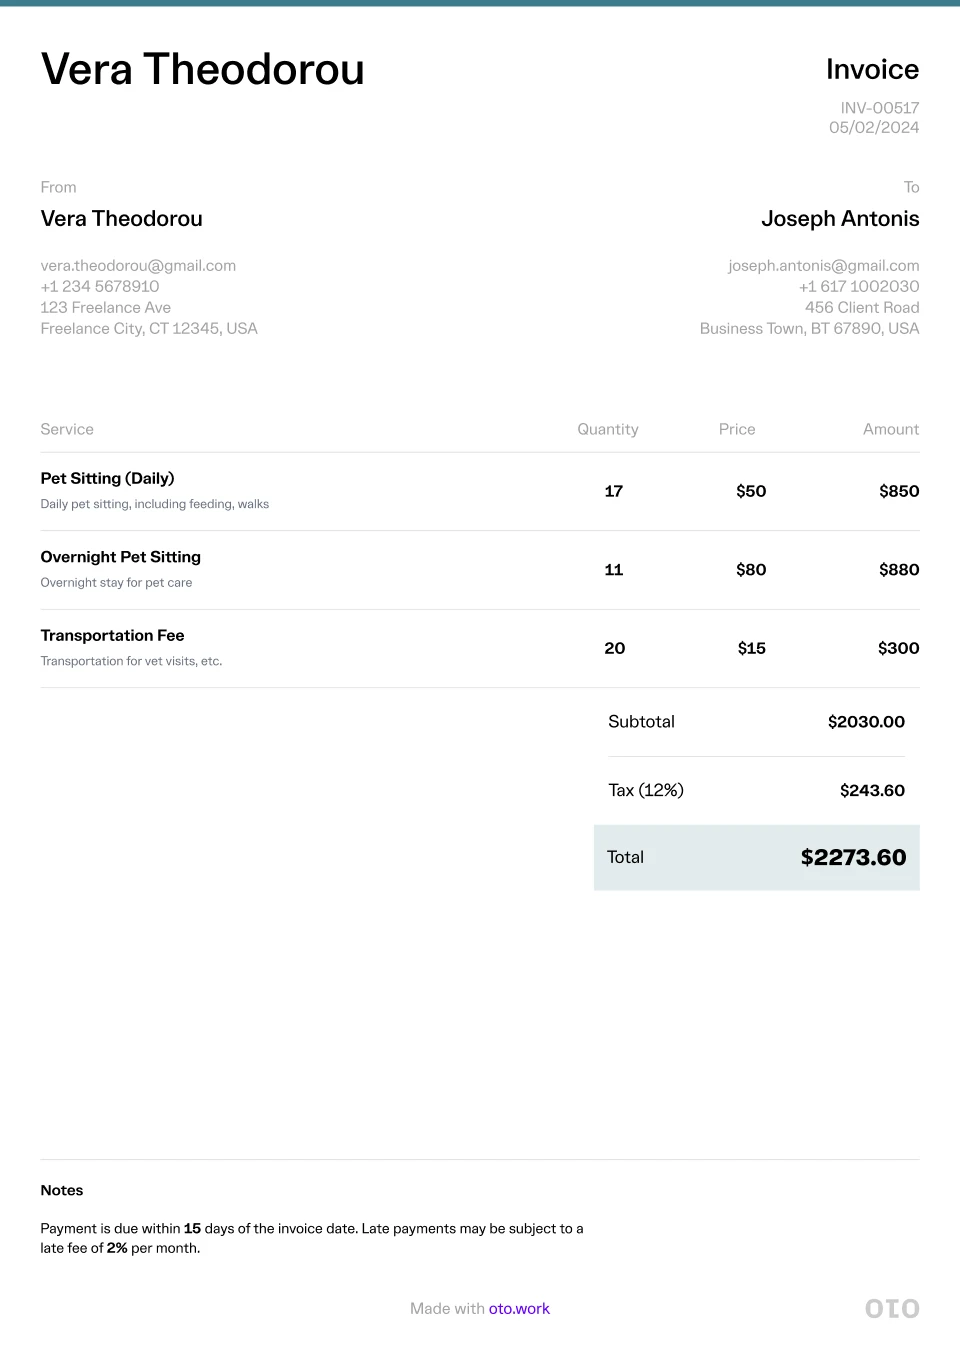

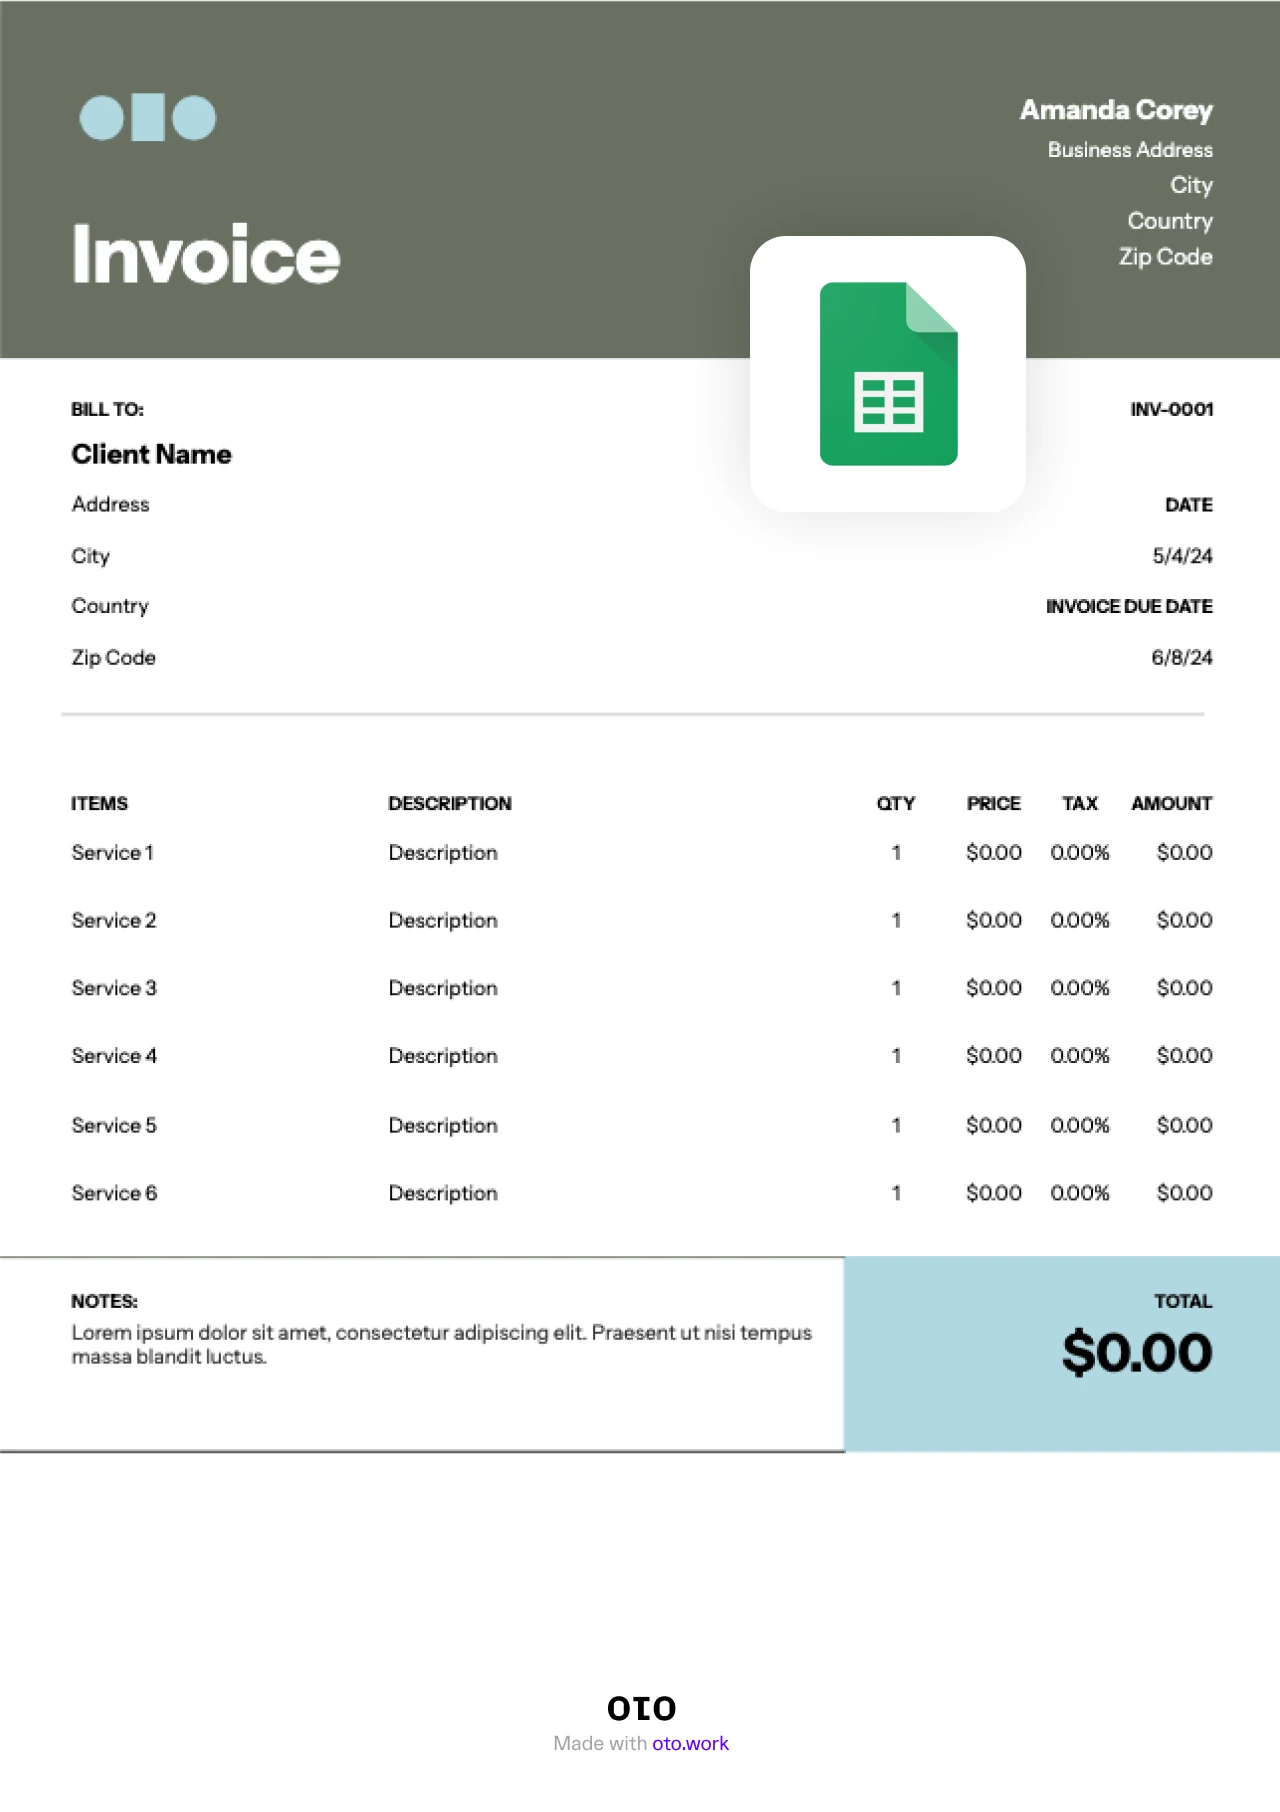
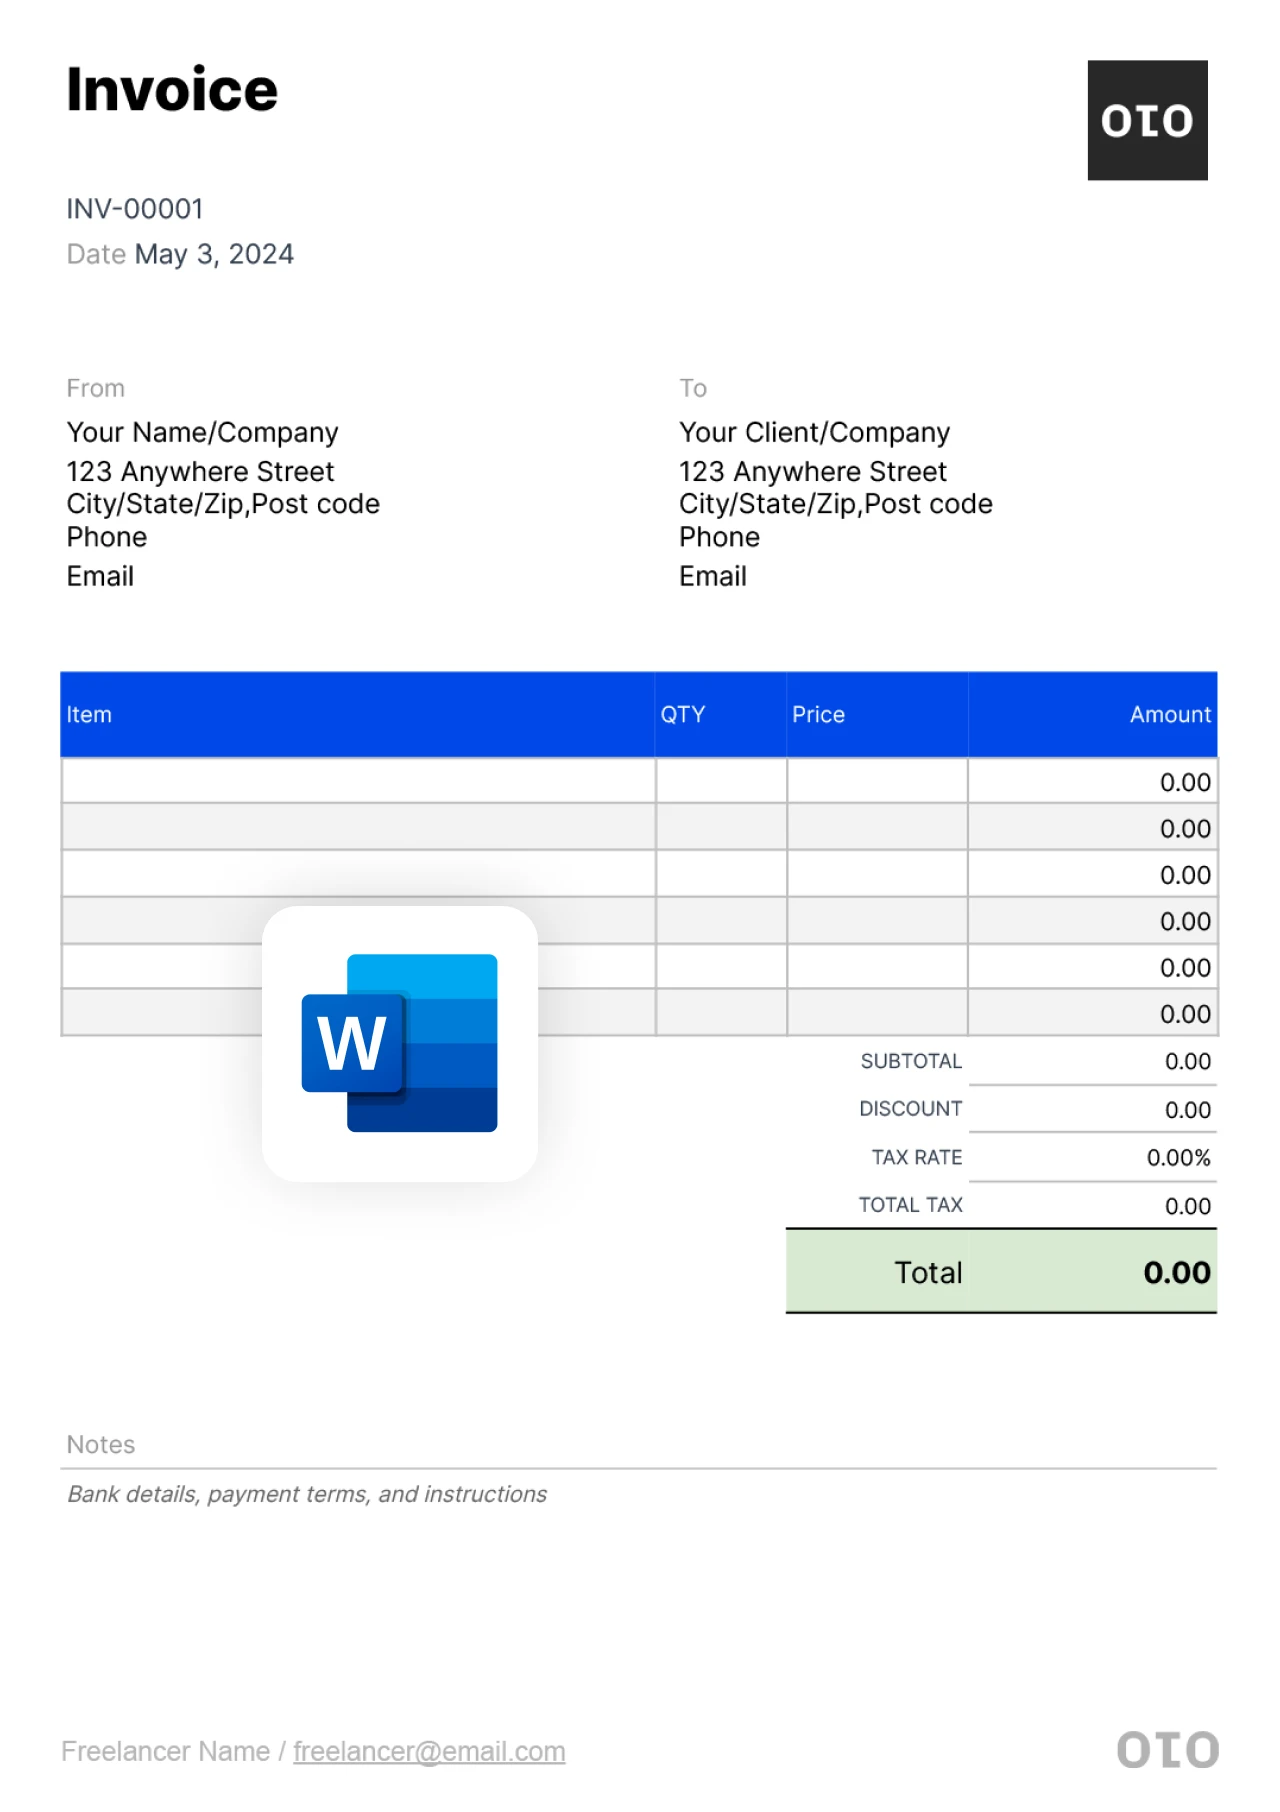
Table of Contents
How to make an hourly invoice with oto What to add in an hourly invoice How to send an invoice for hourly work When to send an hourly invoice How to charge for hourly freelancing work1. Choose your currency
2. Enter your name
3. Enter your client's name
4. Invoice issue date
5. Invoice due date
6. Enter your services and describe what you offered
7. Add tax or discount
8. Add special notes or payment information
What to add in an hourly invoice
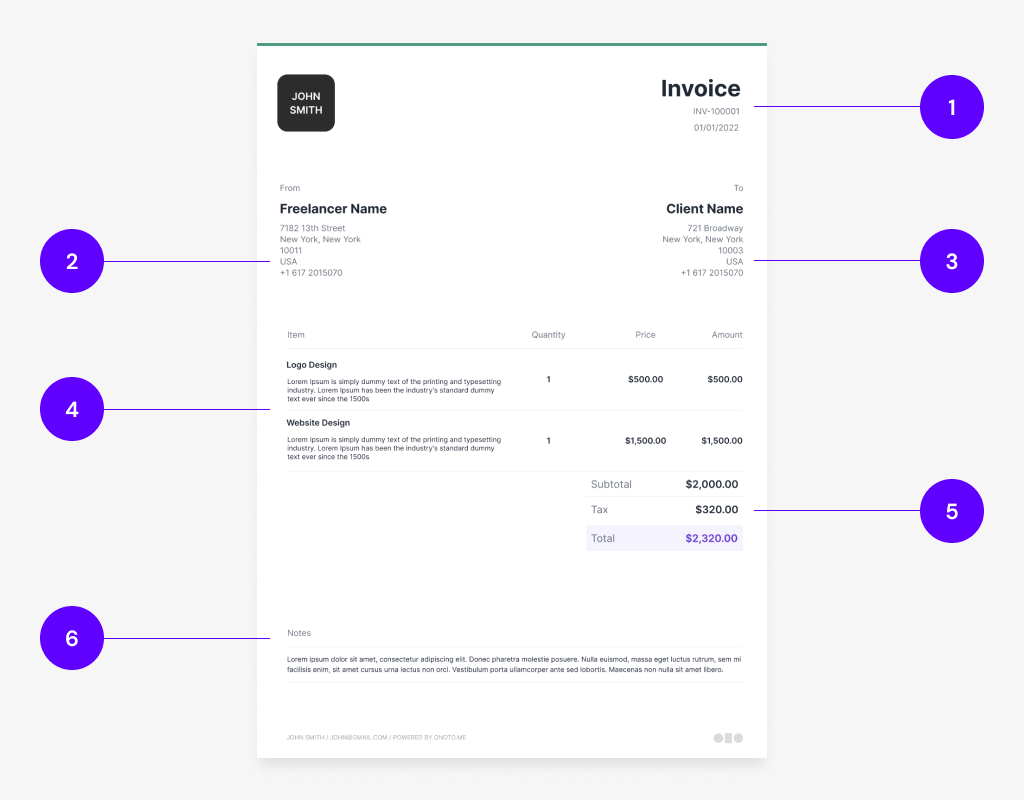
1. Invoice number and date
Include the invoice number and date at the top of the invoice to make it easy for the client.
2. Business and Information
This is where you include you or your business name, address, number, email, or any other info you see necessary
3. Client information
This is where you include the client’s name, address, number, email, or any other info you see necessary.
4. Description of work and rates
Include a short description of the work you did, the quantity delivered or hours worked, and the price for each item.
5. Discounts, tax, and total amount
Add any discounts, your tax, and include the total amount needed to be paid at the bottom
6. Notes
Include any notes you have, if there are any, at the end of the invoice
How to send an invoice for hourly work
Once you’ve supplied a client with a product or service, it’s now time to create an invoice and bill them. Although there are a few steps between service delivery and billing, knowing how to send the invoice is what truly matters.
When to send an hourly invoice
The right time to send the hourly invoice will depend on the type of work or service you have provided to your clients. Many freelancers and hourly workers often prefer to invoice at completion when dealing with a short-term task or project.
How to charge for hourly freelancing services
Hourly invoices are the go-to invoicing method for app developers, virtual assistants, web developers, and many others in the freelancing community. For you to calculate your hourly wages, make sure to follow these steps:
- Set your preferred monthly/annual salary
- Determine the number of hours you’ll work per day/week
- Factor in your operating costs and other business-related expenses
- Calculate your profit margin
- Add the applicable taxes while making sure to deduct discounts
- Use the final amount as your hourly rate